
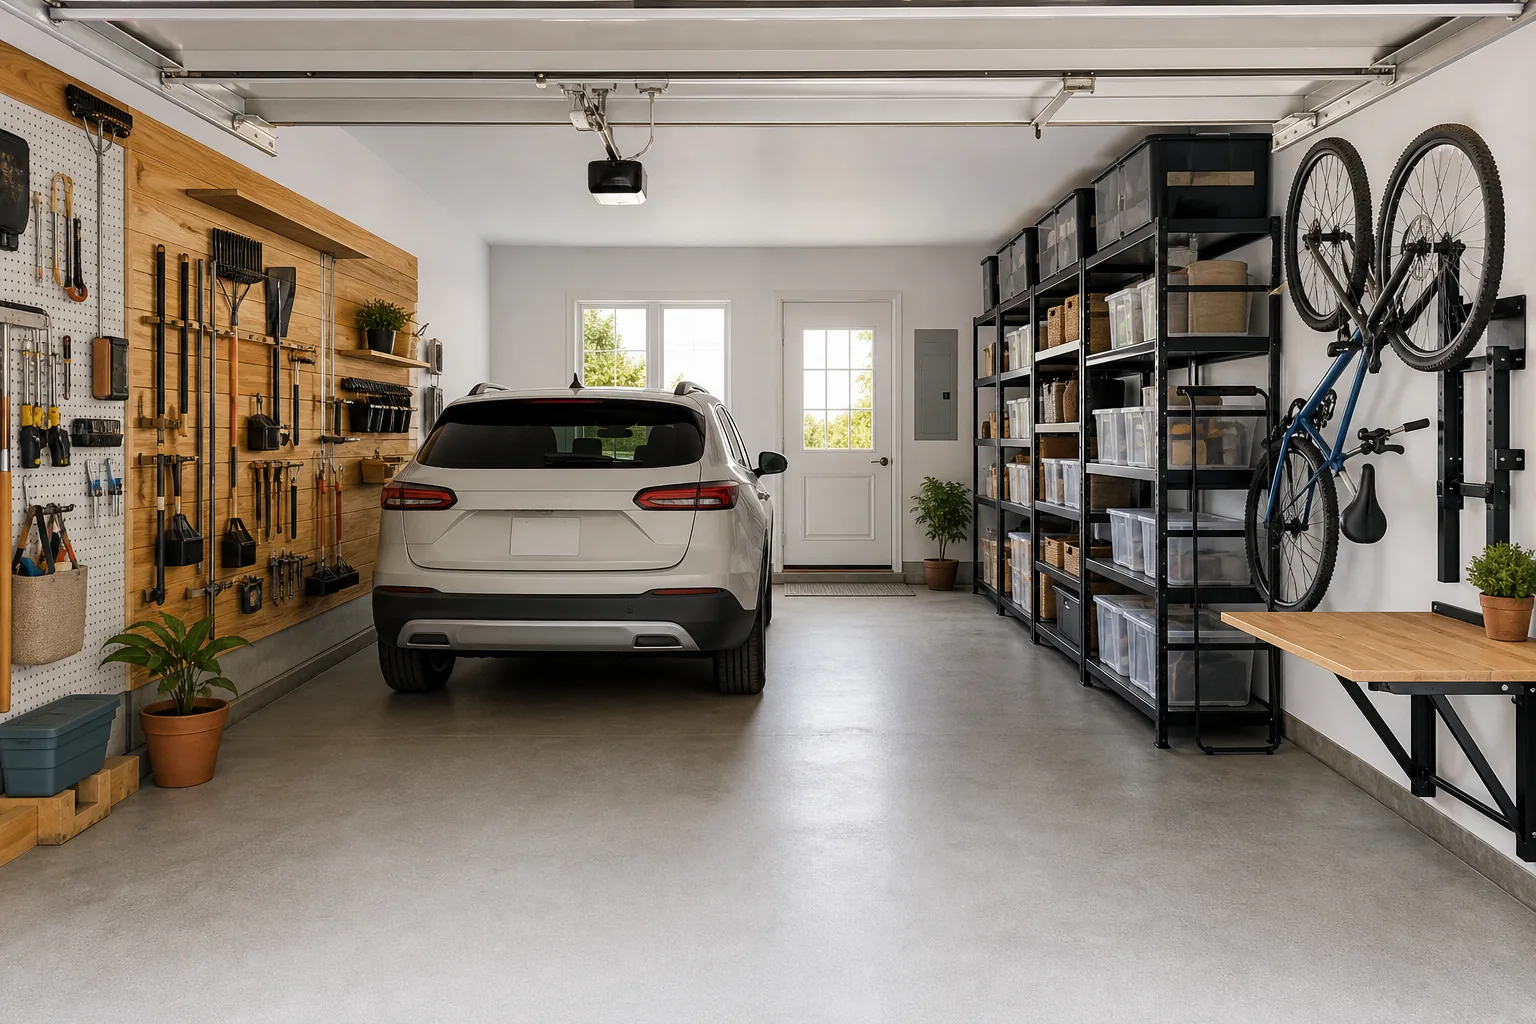
21 DIY Garage Organization Ideas That Actually Free Up Floor Space
A garage works best when the floor is open, frequently used gear is easy to reach, and every category has a clear home. These DIY garage organization ideas focus on practical systems you can build or assemble without turning the space into an expensive showroom.
Instead of buying random bins and hoping they solve the clutter, begin with zones and choose storage for the items you actually own. The 21 ideas below cover tools, bikes, sports gear, garden equipment, shelves, small garages, renter-friendly setups, and simple habits that keep the room organized after the makeover is finished.
Garage organization safety comes first
Follow the instructions and weight limits supplied with every shelf, hook, anchor, rack, and container. Secure wall-mounted systems to suitable framing, keep electrical panels and exits accessible, protect garage-door tracks and springs, and maintain safe clearance around vehicles and heat-producing equipment. Store fuel, chemicals, batteries, sharp tools, and heavy items according to local rules and manufacturer guidance. Hire a qualified professional whenever the structure, electrical work, ceiling storage, or load capacity is uncertain.
For more ways to make hardworking spaces feel intentional, browse our home decor trends and adapt the colors and materials to the rest of your home.
1. Start With Garage Zones and a Floor-First Plan
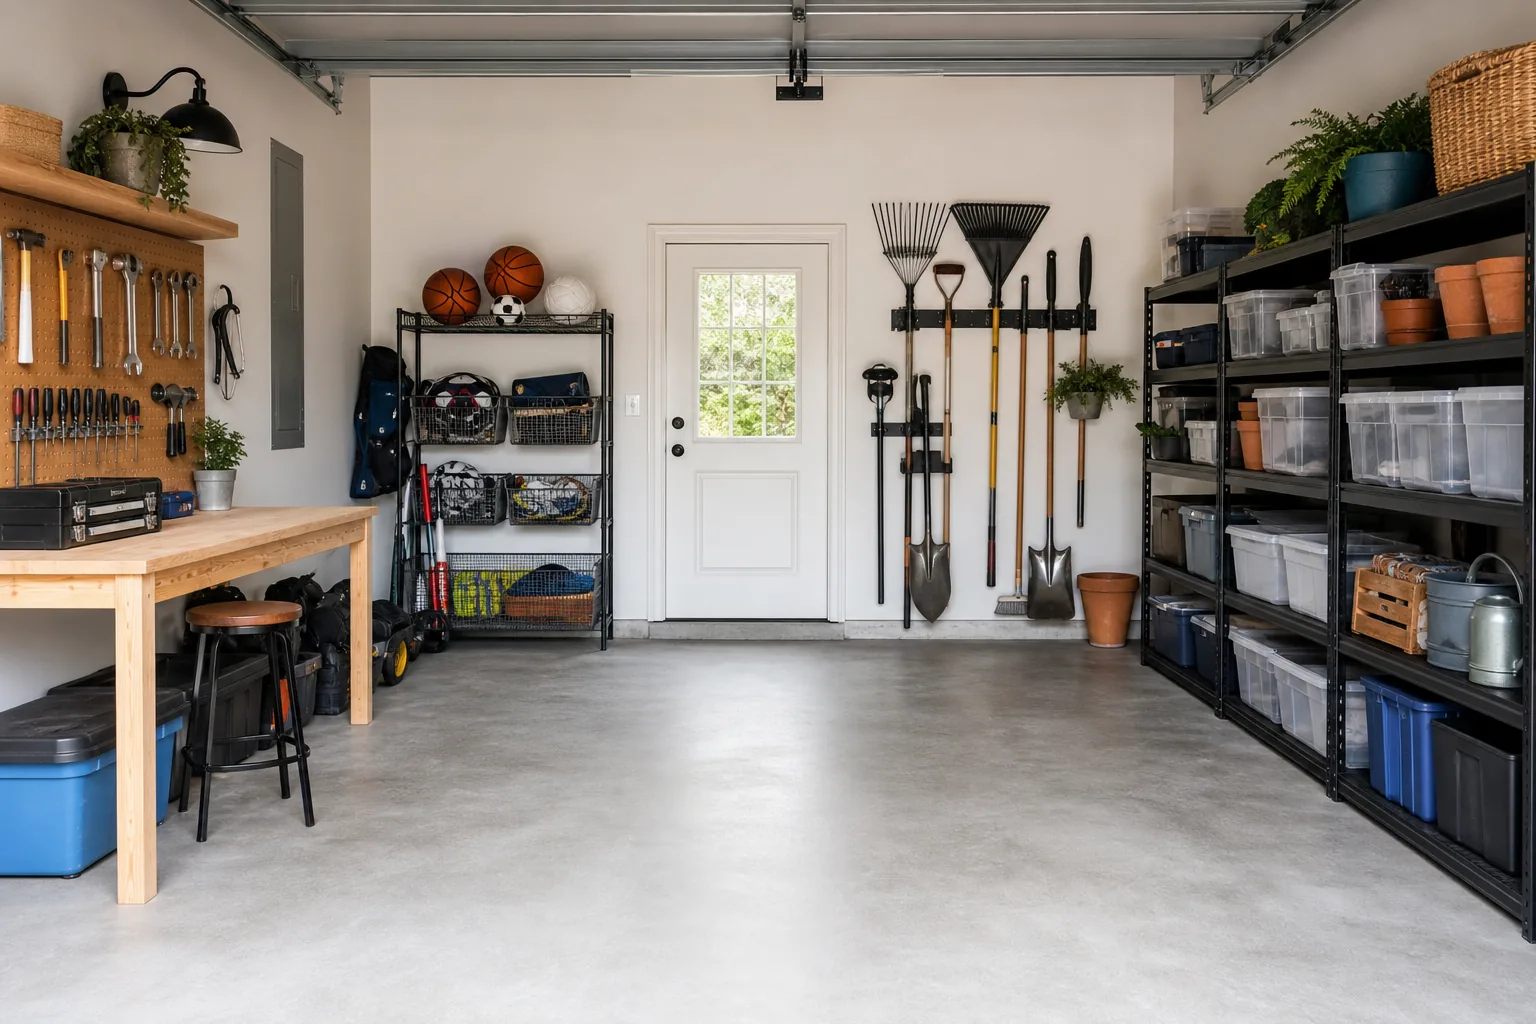
The fastest way to waste money is to purchase storage before deciding what must fit inside it. Empty one manageable section at a time, sort items into keep, donate, sell, relocate, and dispose groups, then measure the usable walls, corners, ceiling height, door swing, and vehicle clearance.
Divide the garage into activity zones such as tools, lawn care, sports, cleaning, seasonal storage, and household overflow. Put frequently used categories near the entrance or at eye level. Reserve harder-to-reach shelves for lightweight items used only a few times a year.
Best for: Every garage Budget: Free Difficulty: Easy
2. Build a Simple Pegboard Tool Wall
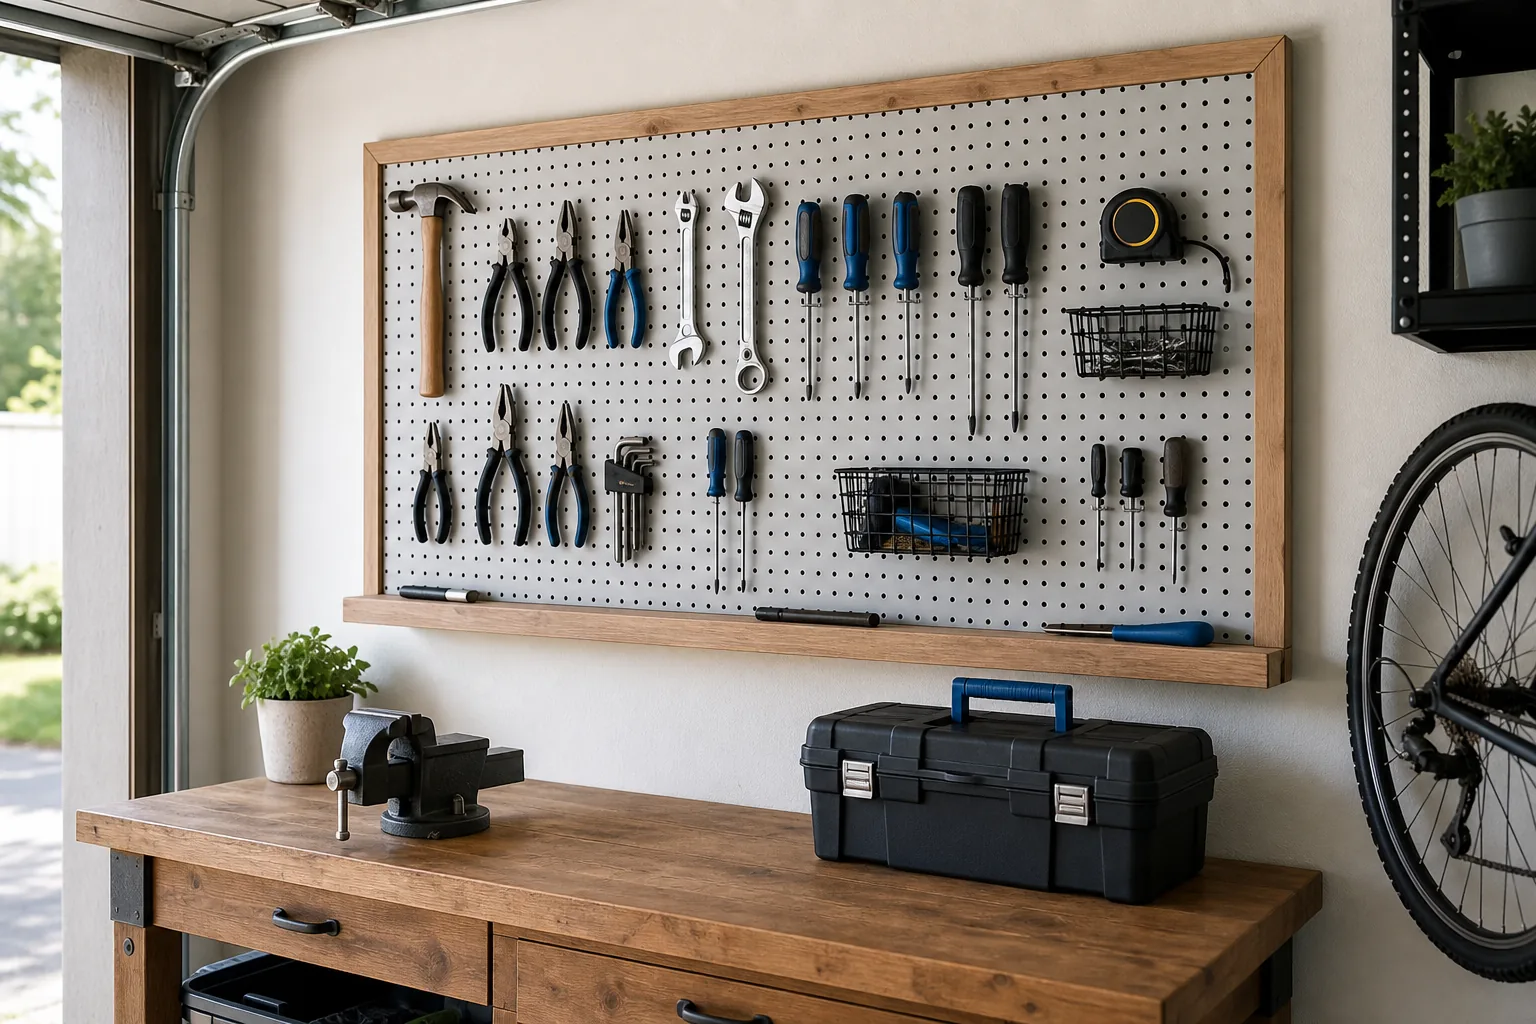
A pegboard keeps hand tools visible and prevents the workbench from becoming a permanent pile. Mount the board with the required space behind it for hooks, using suitable framing and fasteners. A simple wood frame makes the system look finished and can create a shallow ledge for light supplies.
Arrange tools by task rather than by color: measuring tools together, painting supplies together, and frequently used hand tools within an easy reach zone. Leave open holes so the wall can change as your collection changes. Pegboard is best for appropriate lightweight items, not heavy machinery.
Best for: Hand tools Budget: Low Difficulty: Beginner
3. Install a Flexible French Cleat Wall
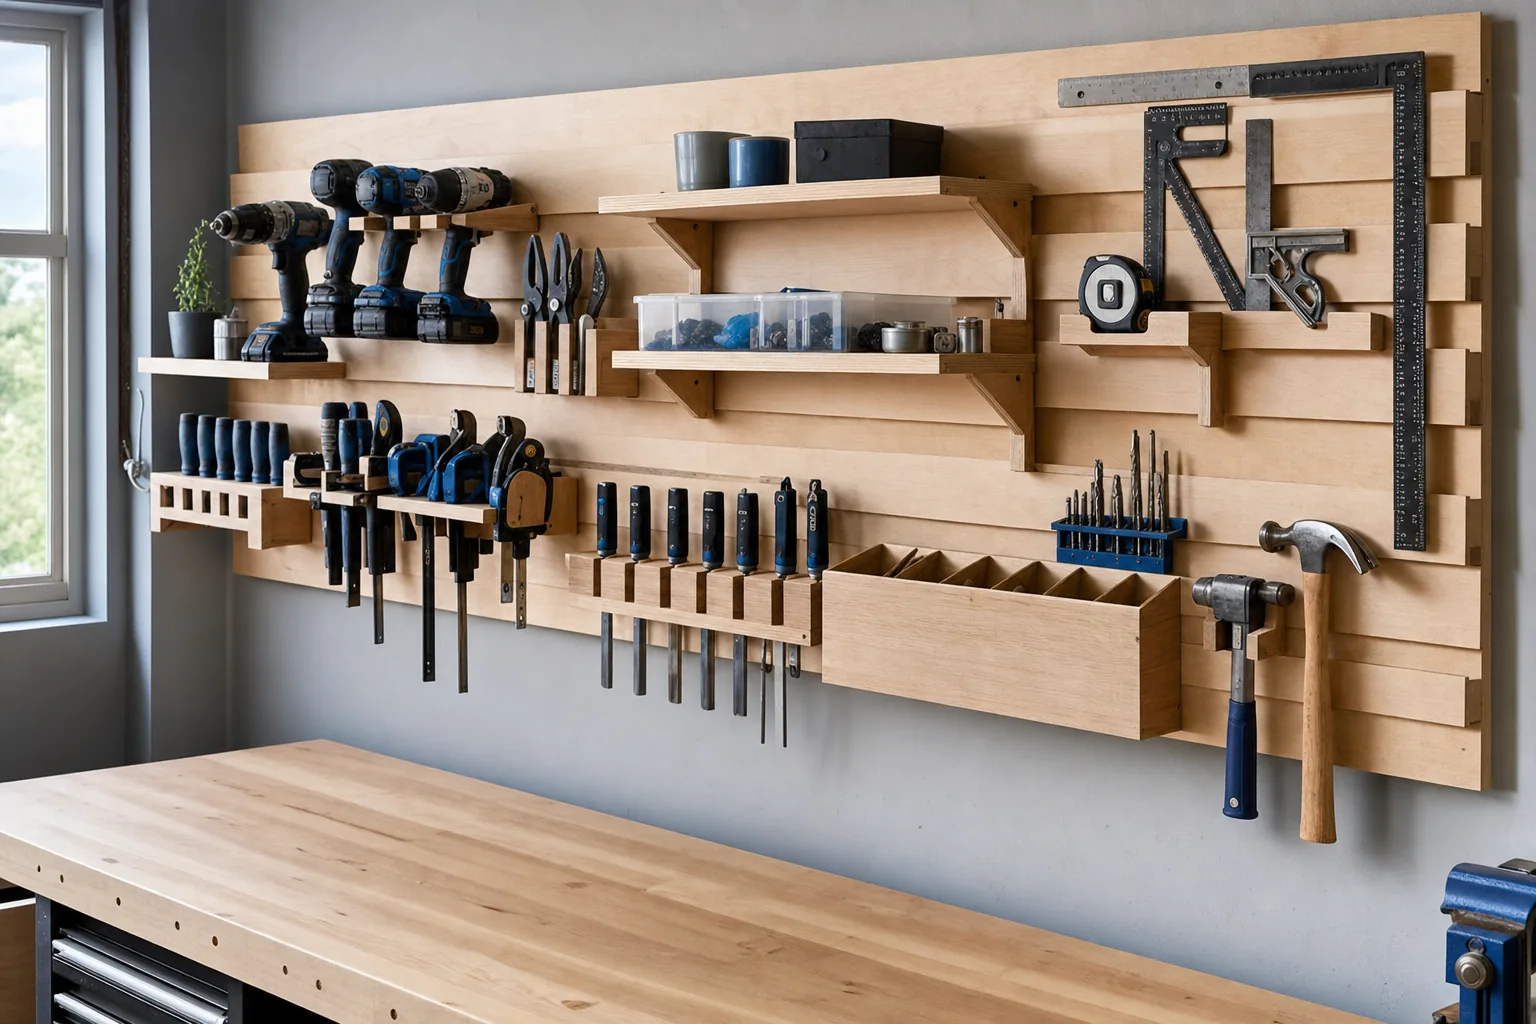
A French cleat system uses angled wood rails and matching holders that lift off and move without rebuilding the entire wall. It is especially useful for a workshop that changes over time because drills, clamps, small shelves, and hand-tool holders can be rearranged as needed.
Use straight, sound material and attach the wall rails securely to appropriate framing. Build holders only for loads the system can safely support, and test each one before filling it. Keep the heaviest items low so they are easier to lift and less hazardous if bumped.
Best for: Flexible workshops Budget: Moderate Difficulty: Intermediate
4. Add Shallow Shelves Above the Workbench
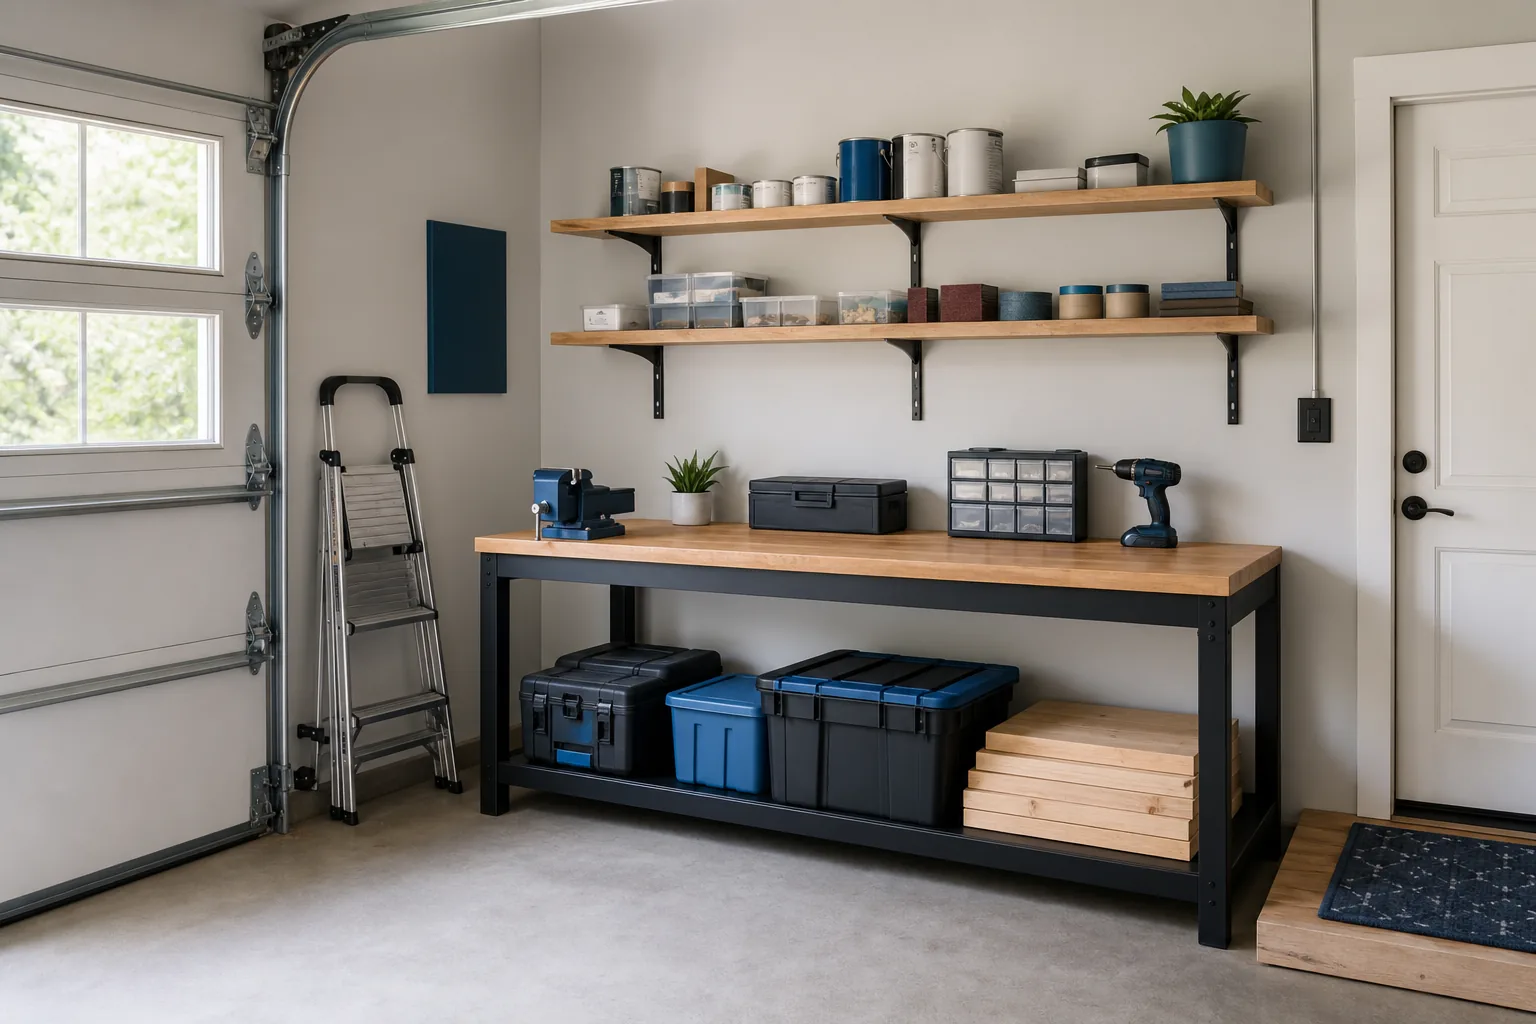
Deep shelves can make a narrow garage feel even tighter. Shallow shelves above a workbench provide useful storage for spray cans, small boxes, sanding supplies, and frequently used containers while keeping the work surface clear.
Size the shelves for the objects they need to hold and avoid placing them where someone could strike a head or shoulder. Use a secure installation suitable for the wall and load, add a small front lip when containers could slide, and keep flammable products in approved storage locations.
Best for: Narrow garages Budget: Low–moderate Difficulty: Beginner
5. Create Bin-Ready Freestanding Shelving
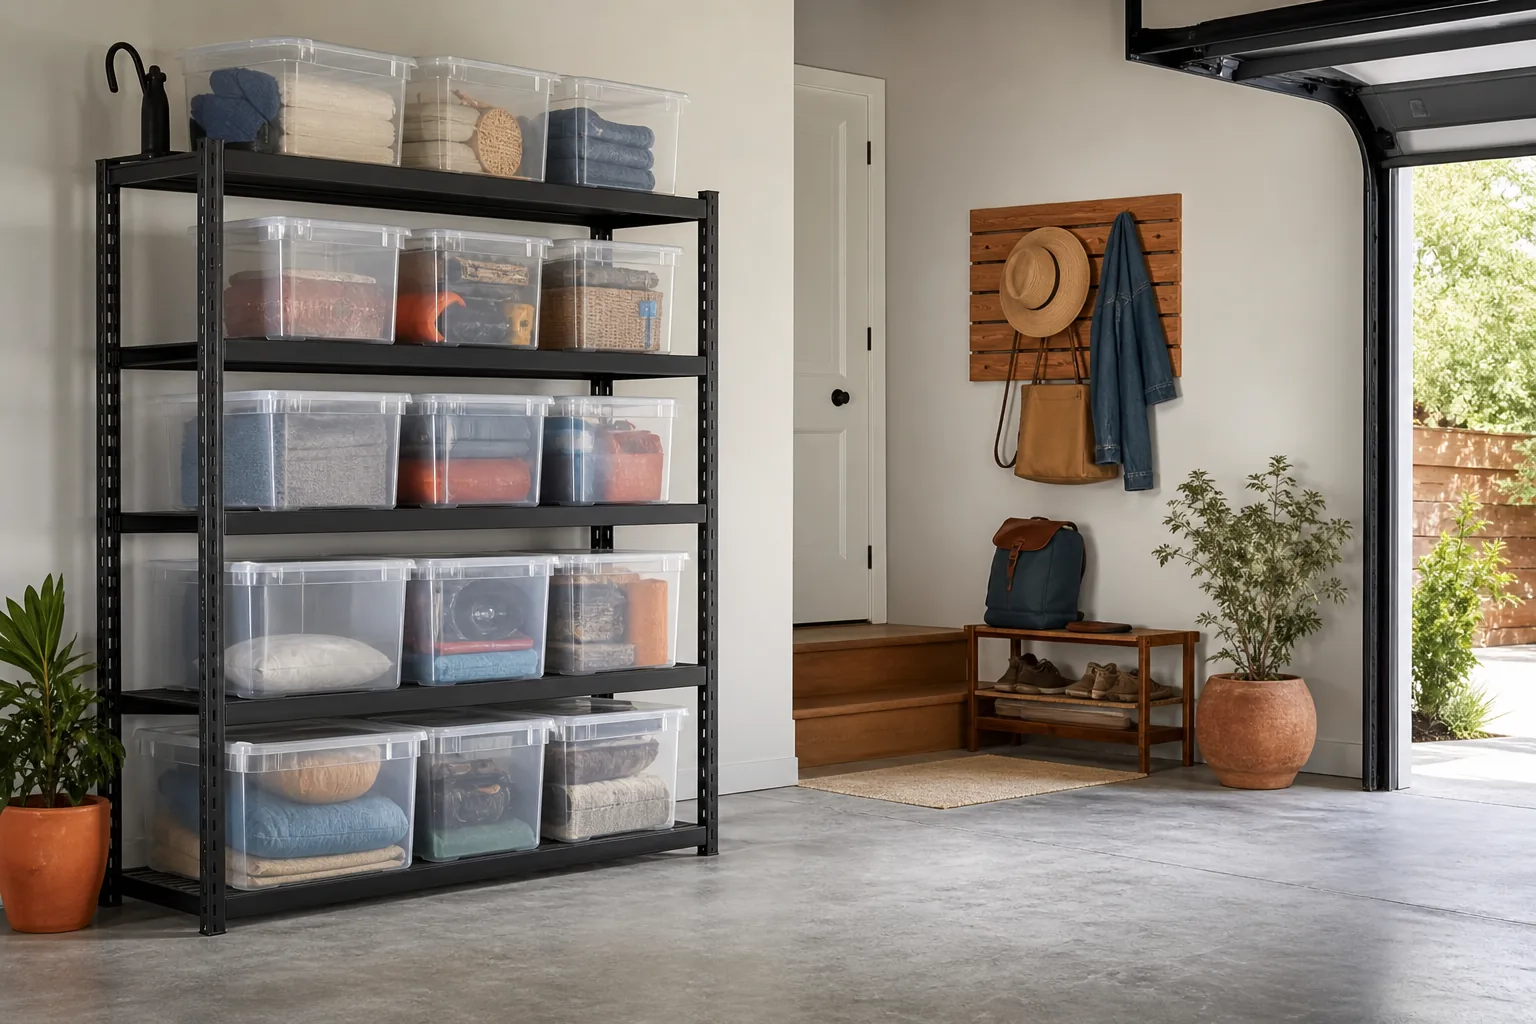
Freestanding shelving is practical when you cannot drill into the wall or want a system that can move later. Choose a unit rated for the expected load, then measure compatible bins before buying multiples. Uniform container sizes use shelf space more efficiently than a collection of unrelated boxes.
Place heavier bins on lower levels and frequently used containers between knee and shoulder height. Follow anti-tip guidance for the shelving, keep the unit level, and avoid stacking containers so high that they become difficult to control.
Best for: Renters and bulk storage Budget: Moderate Difficulty: Easy
6. Use Clear Bins With Large, Specific Labels
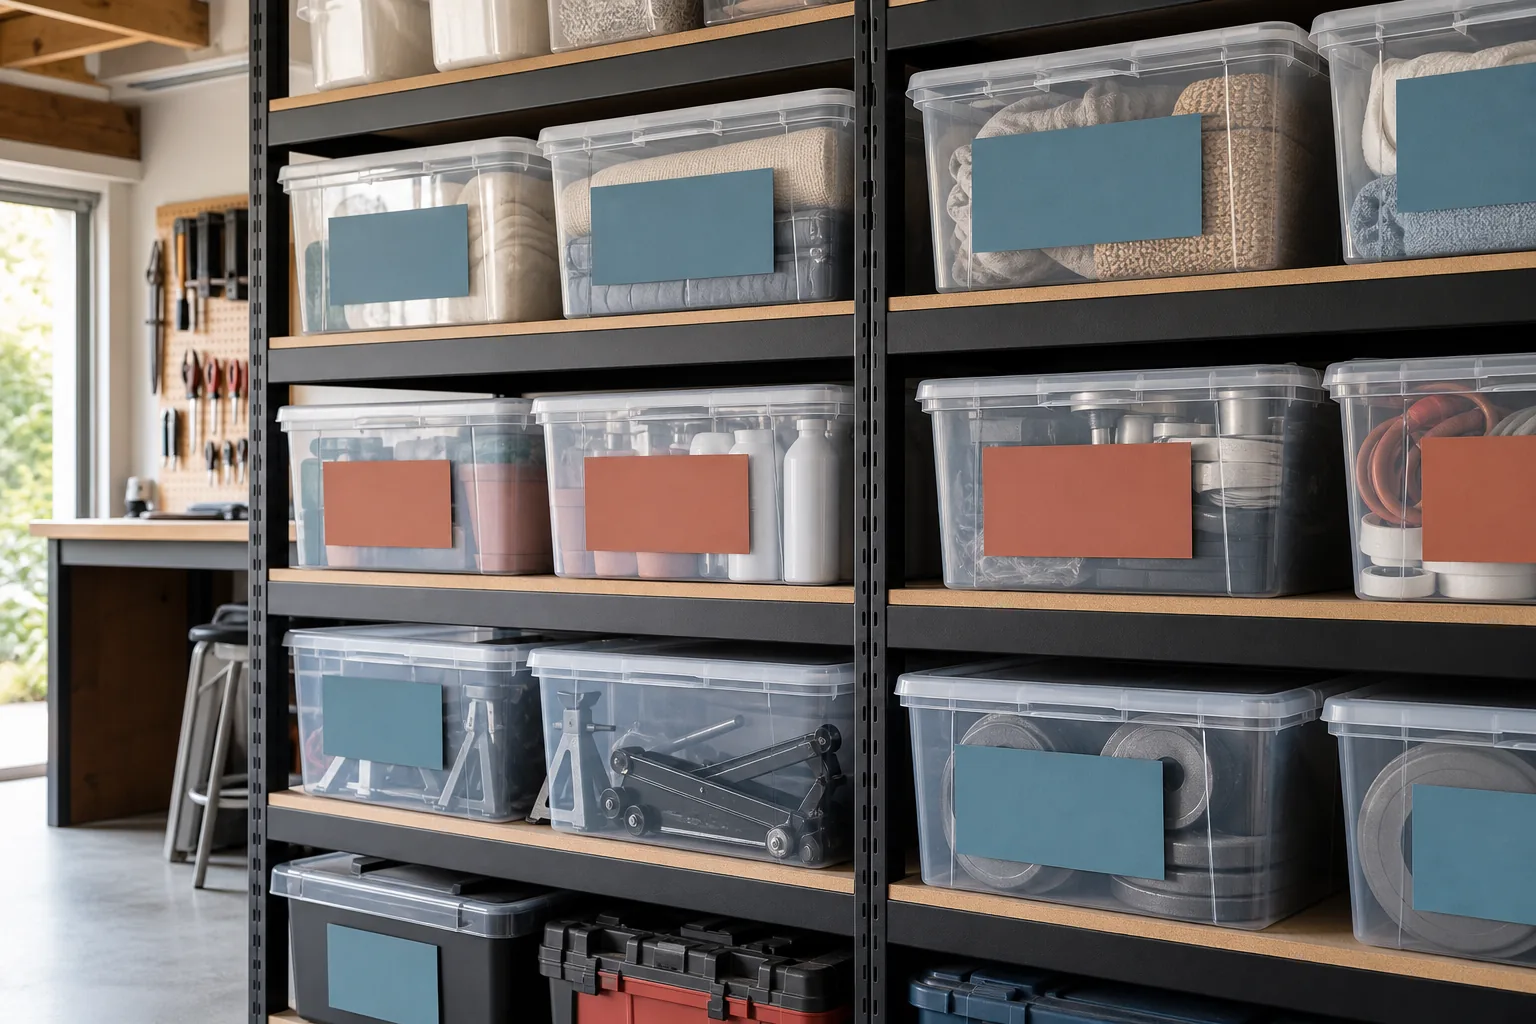
Clear bins make contents visible, but labels prevent categories from slowly blending together. Use specific names such as “Car Care,” “Camping Stove,” or “Kids’ Soccer” instead of broad labels like “Miscellaneous.” Add a simple number if you maintain an inventory list for seasonal items.
Choose containers suited to garage conditions and the items inside. Moisture, pests, temperature changes, and chemical compatibility matter more than matching colors. Never place incompatible chemicals together simply because they fit in the same attractive container.
Best for: Seasonal and household items Budget: Low–moderate Difficulty: Easy
7. Build a Slim Rolling Storage Cart
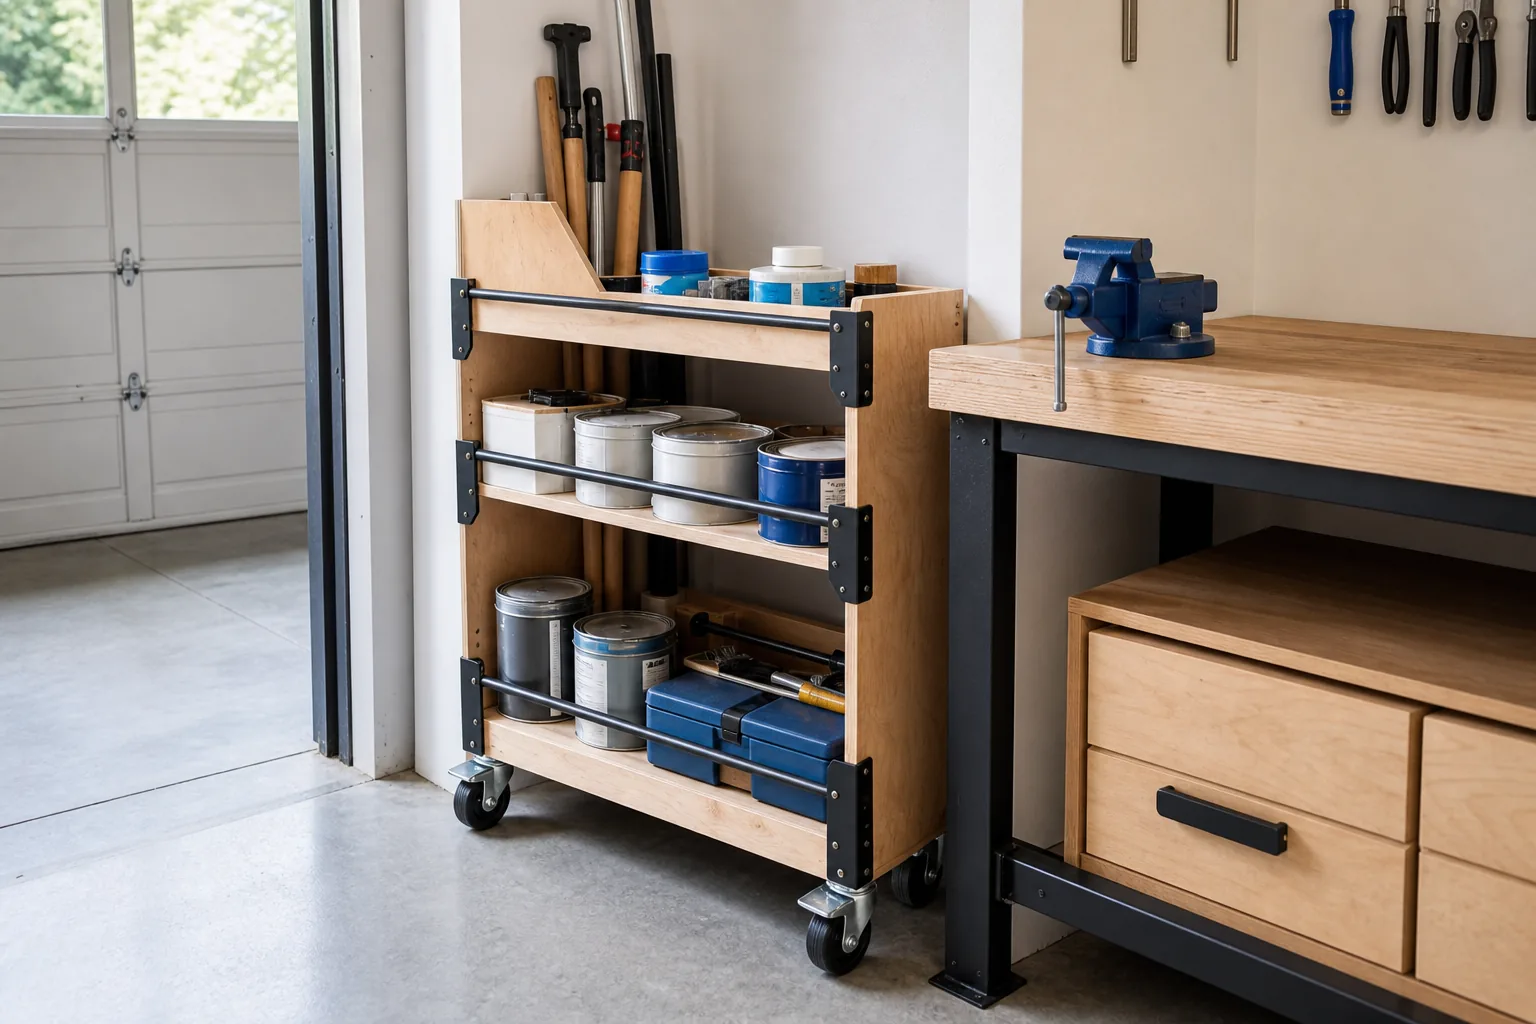
A narrow cart can occupy the gap beside a cabinet or workbench and roll into the open when needed. Use it for painting supplies, car-care products, gardening hand tools, or project materials that are easier to use as one portable group.
Keep the cart stable by placing dense items low and using casters rated for the finished weight. Add shallow rails so containers stay in place while moving. Do not create a tall, narrow cart that becomes top-heavy or blocks the safe path around a vehicle.
Best for: Awkward gaps Budget: Low–moderate Difficulty: Beginner
8. Add a Fold-Down Workbench
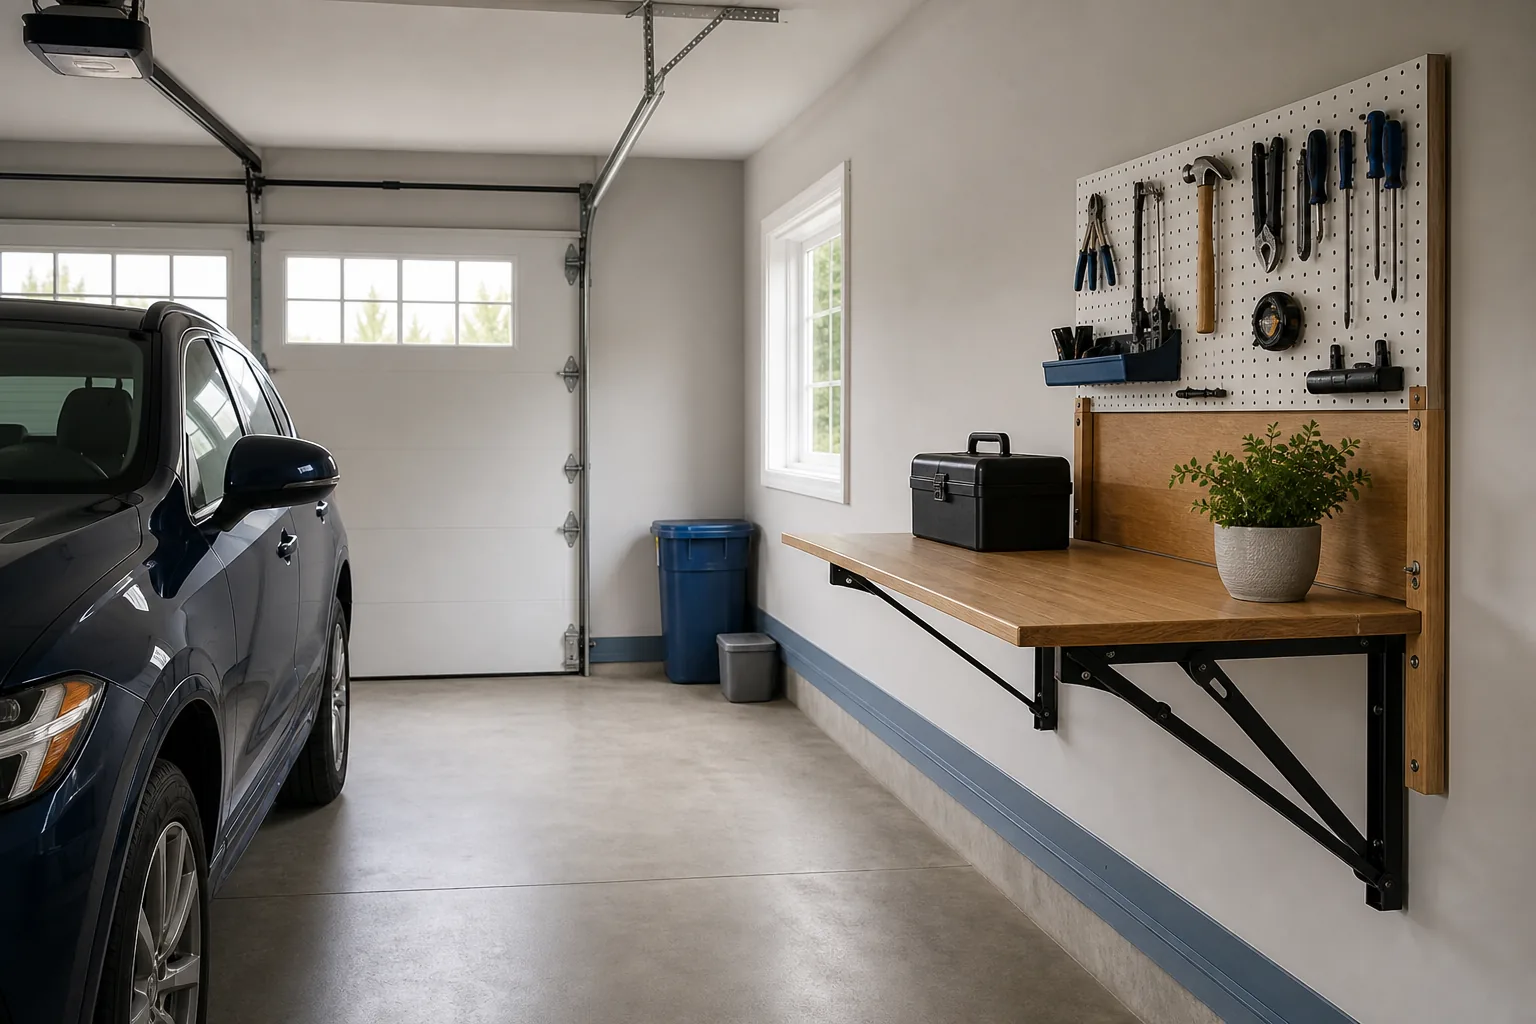
A fold-down bench provides a temporary repair or hobby surface without permanently occupying floor space. When closed, the wall can remain shallow enough for parking or circulation. Pair the bench with a compact tool wall above it so setup takes only a minute.
The mounting structure, hinges, supports, and fasteners must be suitable for the intended load. Keep fingers clear when folding, use a positive latch in the closed position, and never treat the bench as seating or a platform unless it was specifically engineered for that purpose.
Best for: One-car garages Budget: Moderate Difficulty: Intermediate
9. Hang Long-Handled Garden Tools Vertically
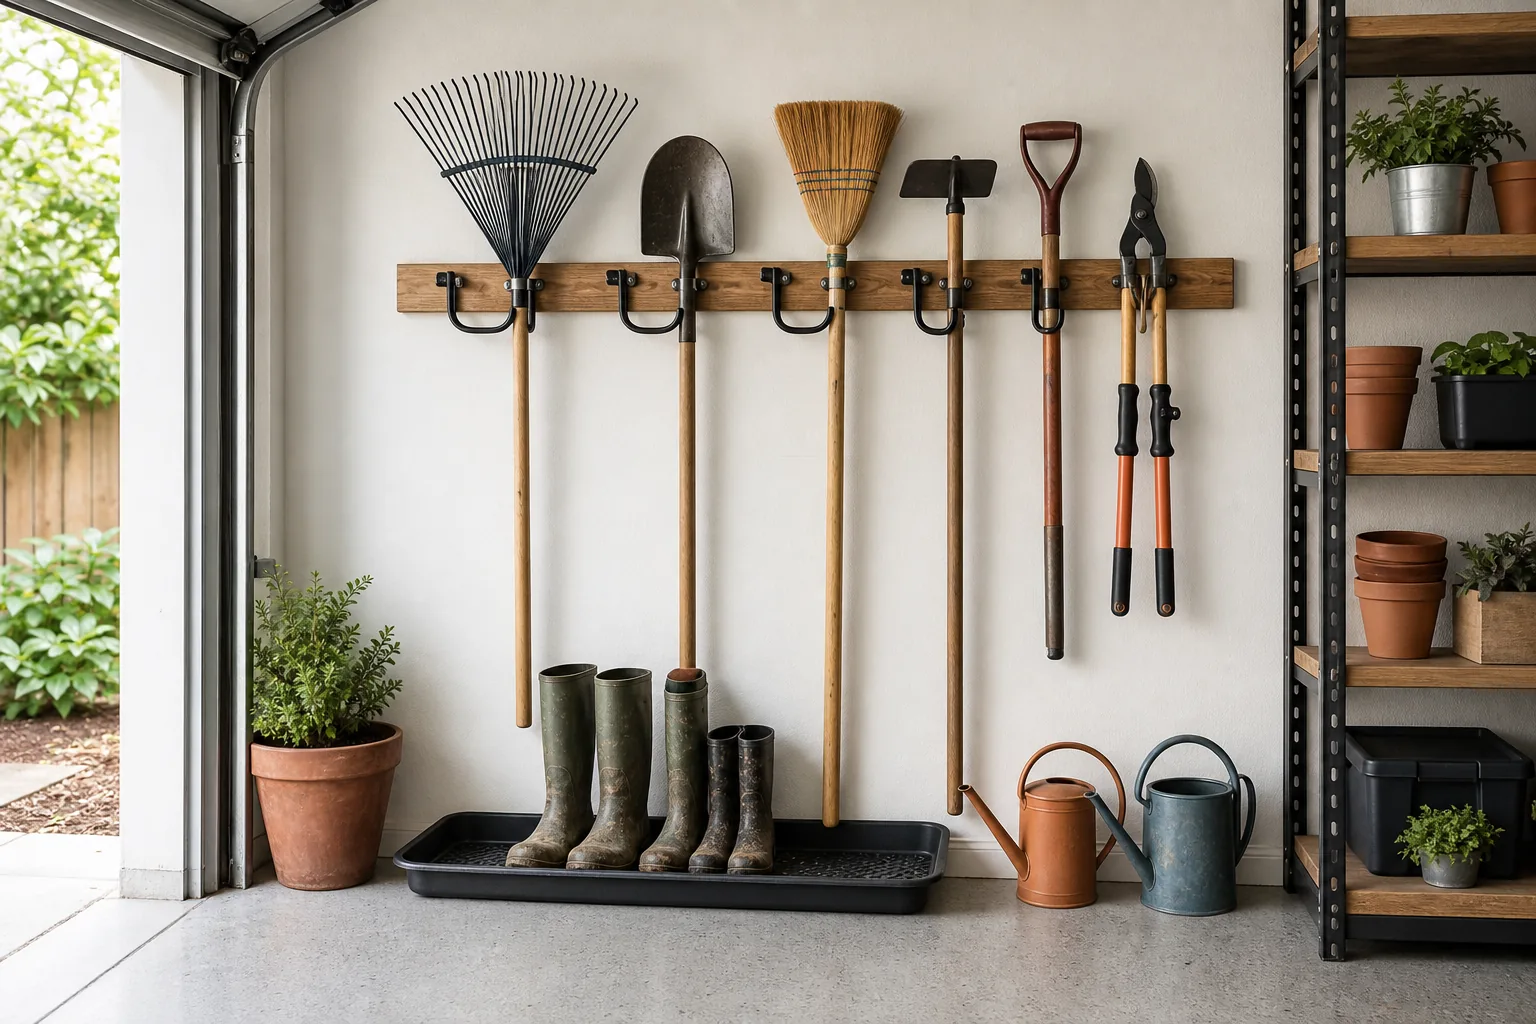
Rakes and shovels are difficult to stack and easy to trip over. A purpose-built wall rack keeps the handles vertical and separates sharp or wide tool heads so one item can be removed without pulling down the entire group.
Install the rack where long tools will not interfere with a car door, walkway, or garage door. Keep cutting edges protected and place child access and tool height into the plan. Clean soil and moisture from tools before storing them against the wall.
Best for: Lawn and garden gear Budget: Low Difficulty: Easy
10. Create a Dedicated Sports Gear Station
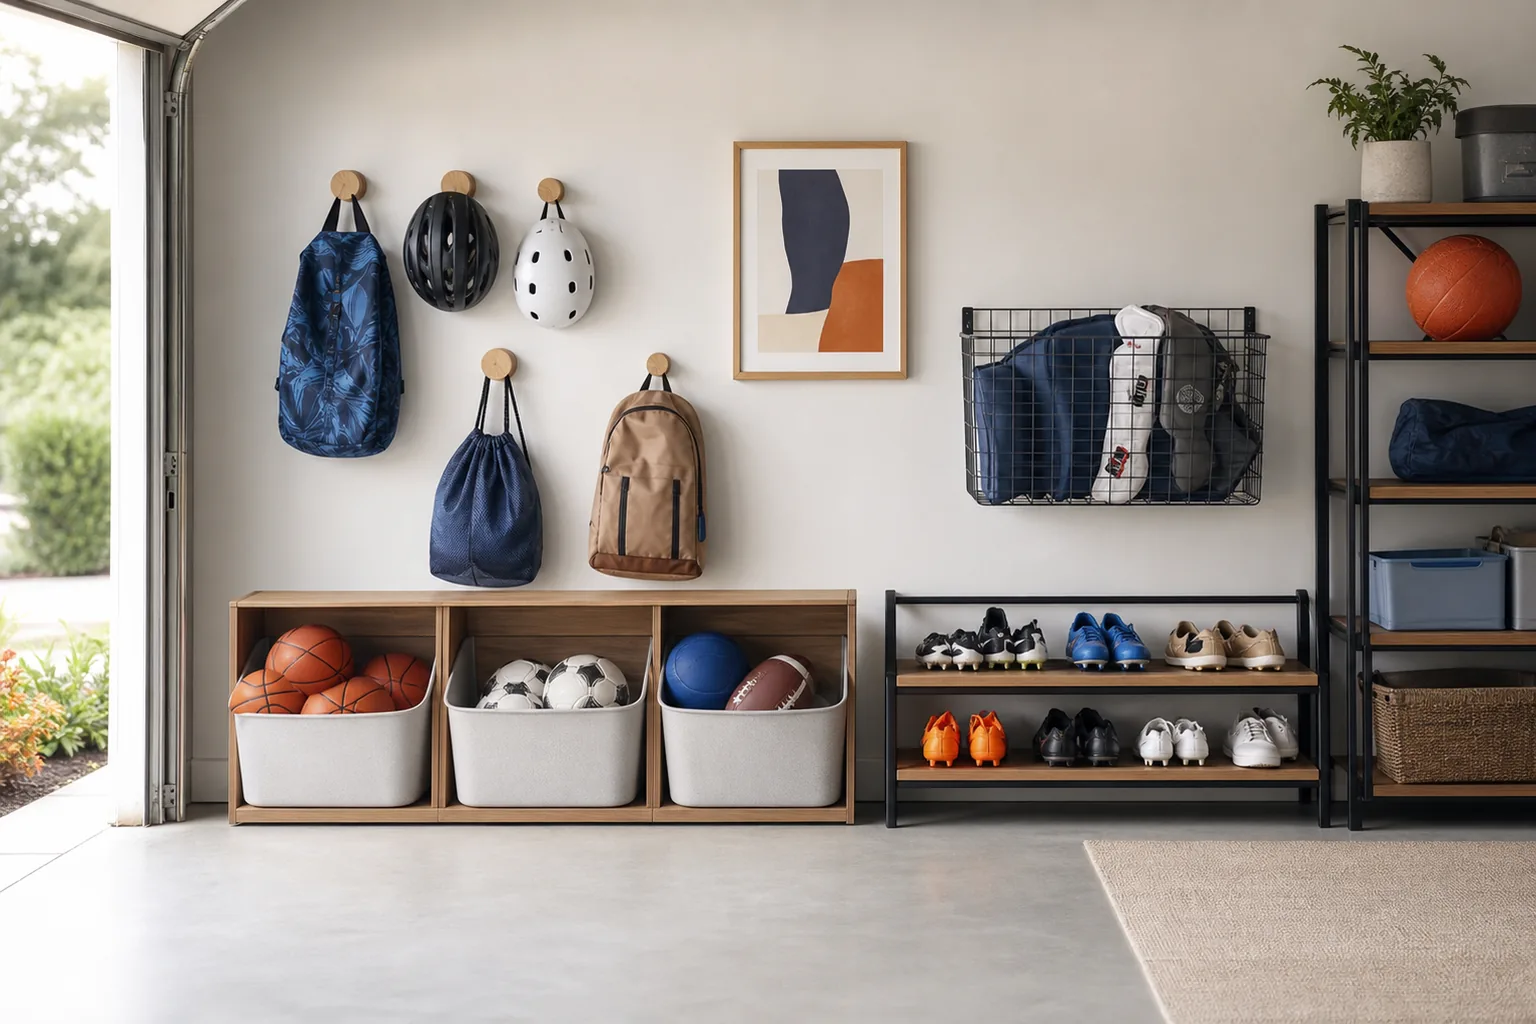
Sports equipment stays organized when children and adults can return it without opening lids or reaching high shelves. Use an open bin for balls, ventilated baskets for protective gear, hooks for helmets and bags, and a low shelf for shoes.
Group the entire station near the door used by the family so muddy gear does not travel through the garage. Allow wet items to dry before placing them in closed containers. If you are also updating a family activity space, our playroom inspiration offers more ideas for accessible storage.
Best for: Active families Budget: Low–moderate Difficulty: Easy
11. Store Bikes Vertically Without Tangling Handlebars
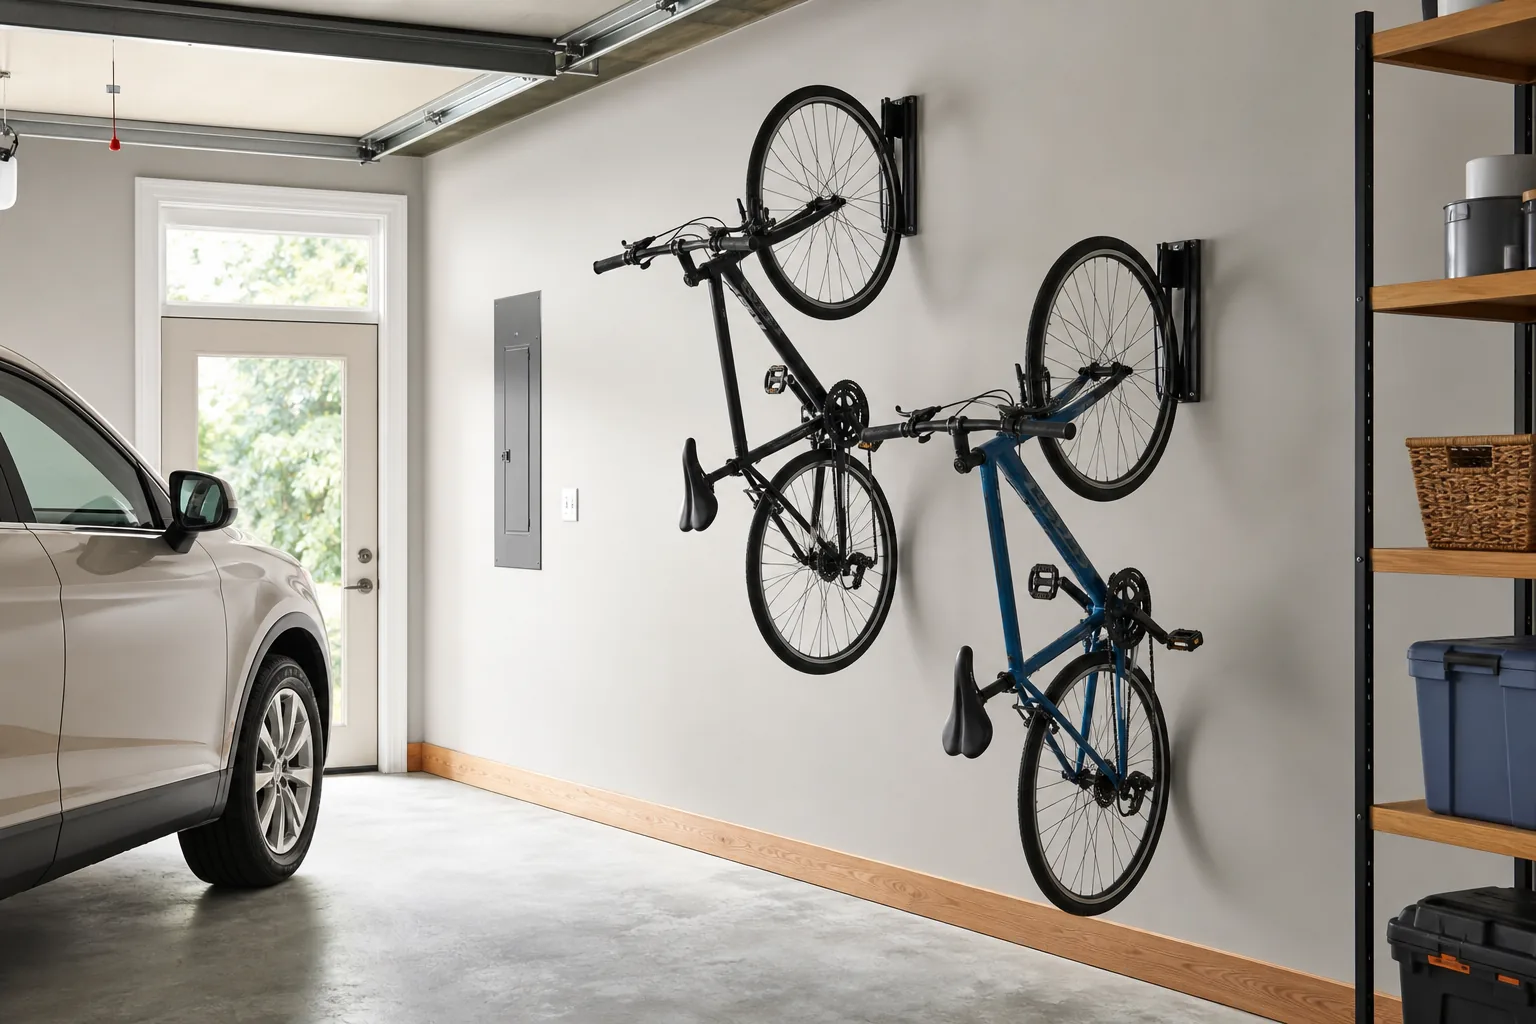
Vertical bike storage can reclaim a large amount of floor space, especially when hooks are staggered so handlebars and pedals do not collide. Leave enough room to lift each bike safely and keep children’s bikes at a height they can manage.
Use mounts compatible with the bicycle and wall structure, follow the manufacturer’s installation instructions, and confirm that tires, rims, or frames are supported as intended. Do not place bikes where they can fall onto a vehicle, doorway, or frequently used path.
Best for: Small garages Budget: Moderate Difficulty: Beginner
12. Make an Open-Front Ball Corral
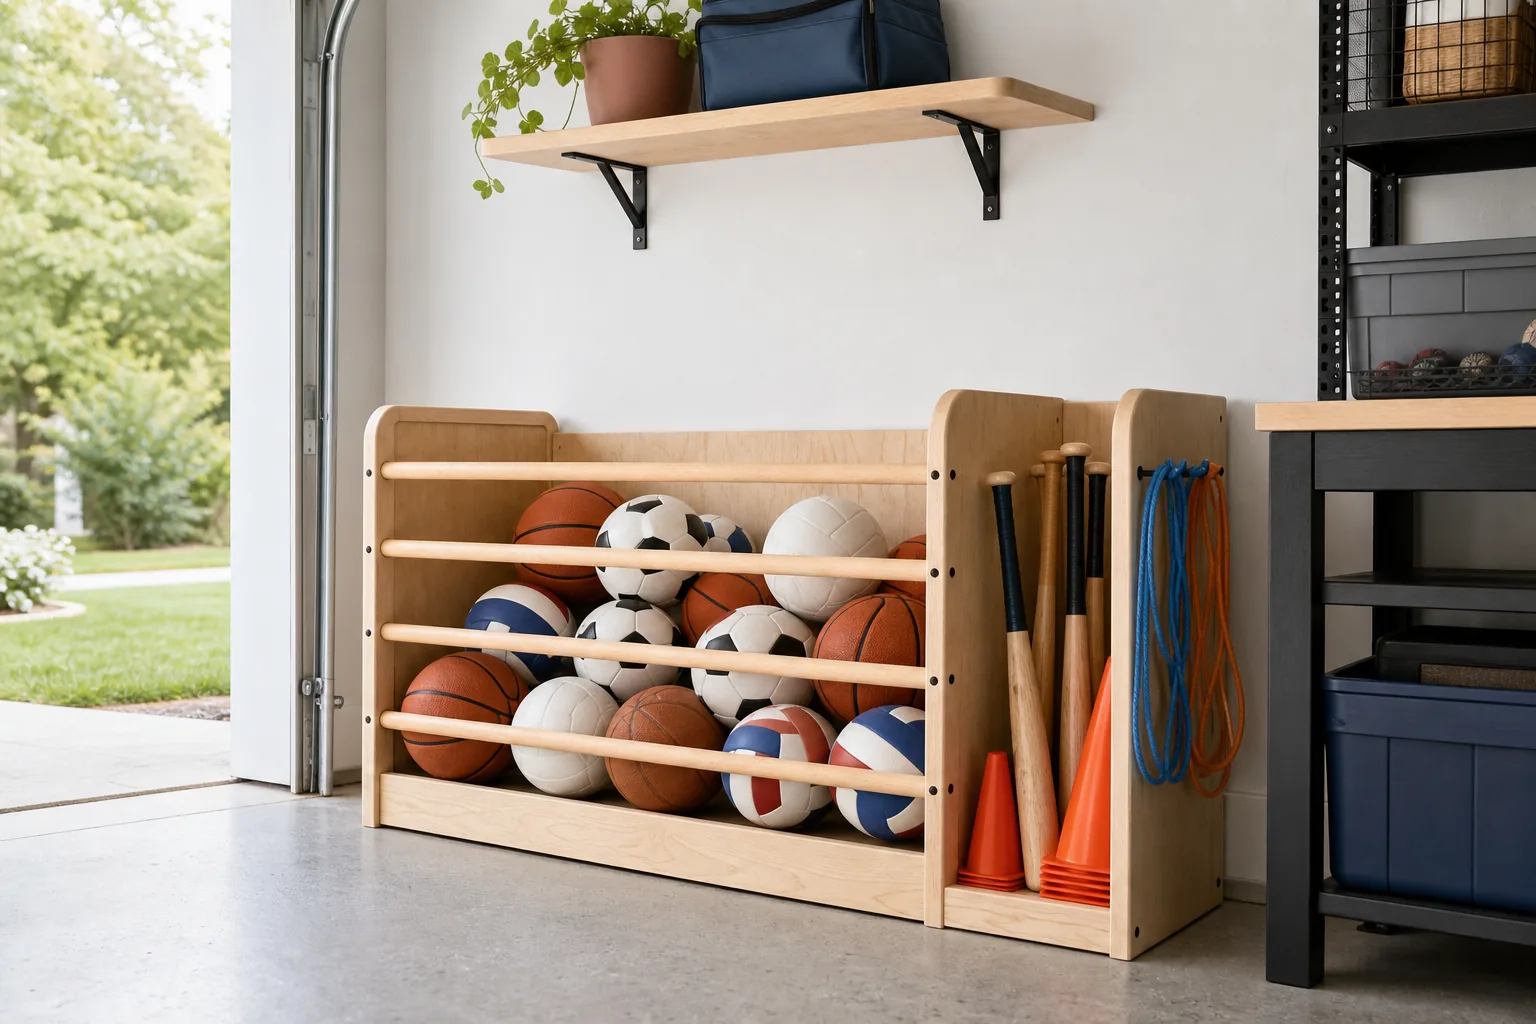
A simple open-front corral stops loose balls from rolling under the car while allowing everyone to see and return them. A divided design can separate frequently used balls from bats, cones, and smaller outdoor toys.
Keep openings smooth and free of pinch points, and make the unit stable enough for normal family use. Flexible cords should only be used when they are installed and tensioned safely; rigid open slats or a purpose-made mesh bin may be a better choice in homes with young children.
Best for: Loose sports equipment Budget: Low Difficulty: Beginner
13. Organize Extension Cords and Hoses on Heavy-Duty Hooks
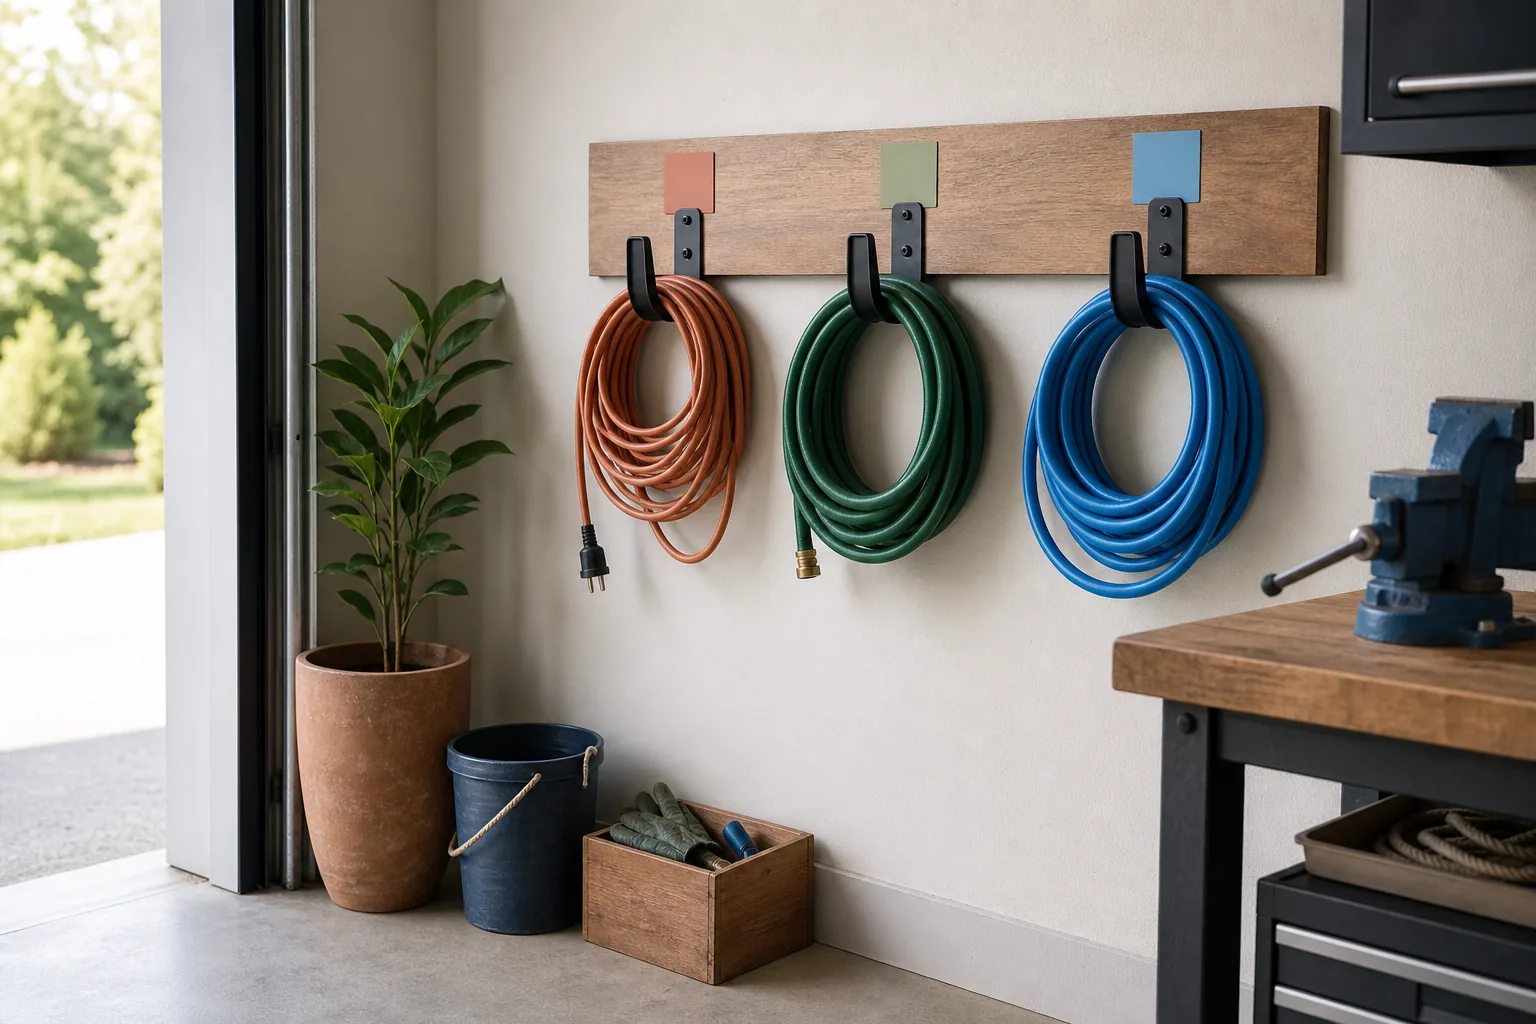
Large hooks turn tangled cords, air hoses, and garden hoses into compact wall storage. Give each item its own hook and coil it loosely enough to avoid damaging the material. A small label helps family members return each cord to the correct place.
Choose hooks rated for the load and install them into suitable support. Inspect cords before storage, keep electrical cords dry, and never wrap them tightly around a sharp edge. Store fuel lines and specialized hoses according to their manufacturer’s guidance.
Best for: Cords and hoses Budget: Low Difficulty: Easy
14. Create a Compact Power-Tool Charging Station
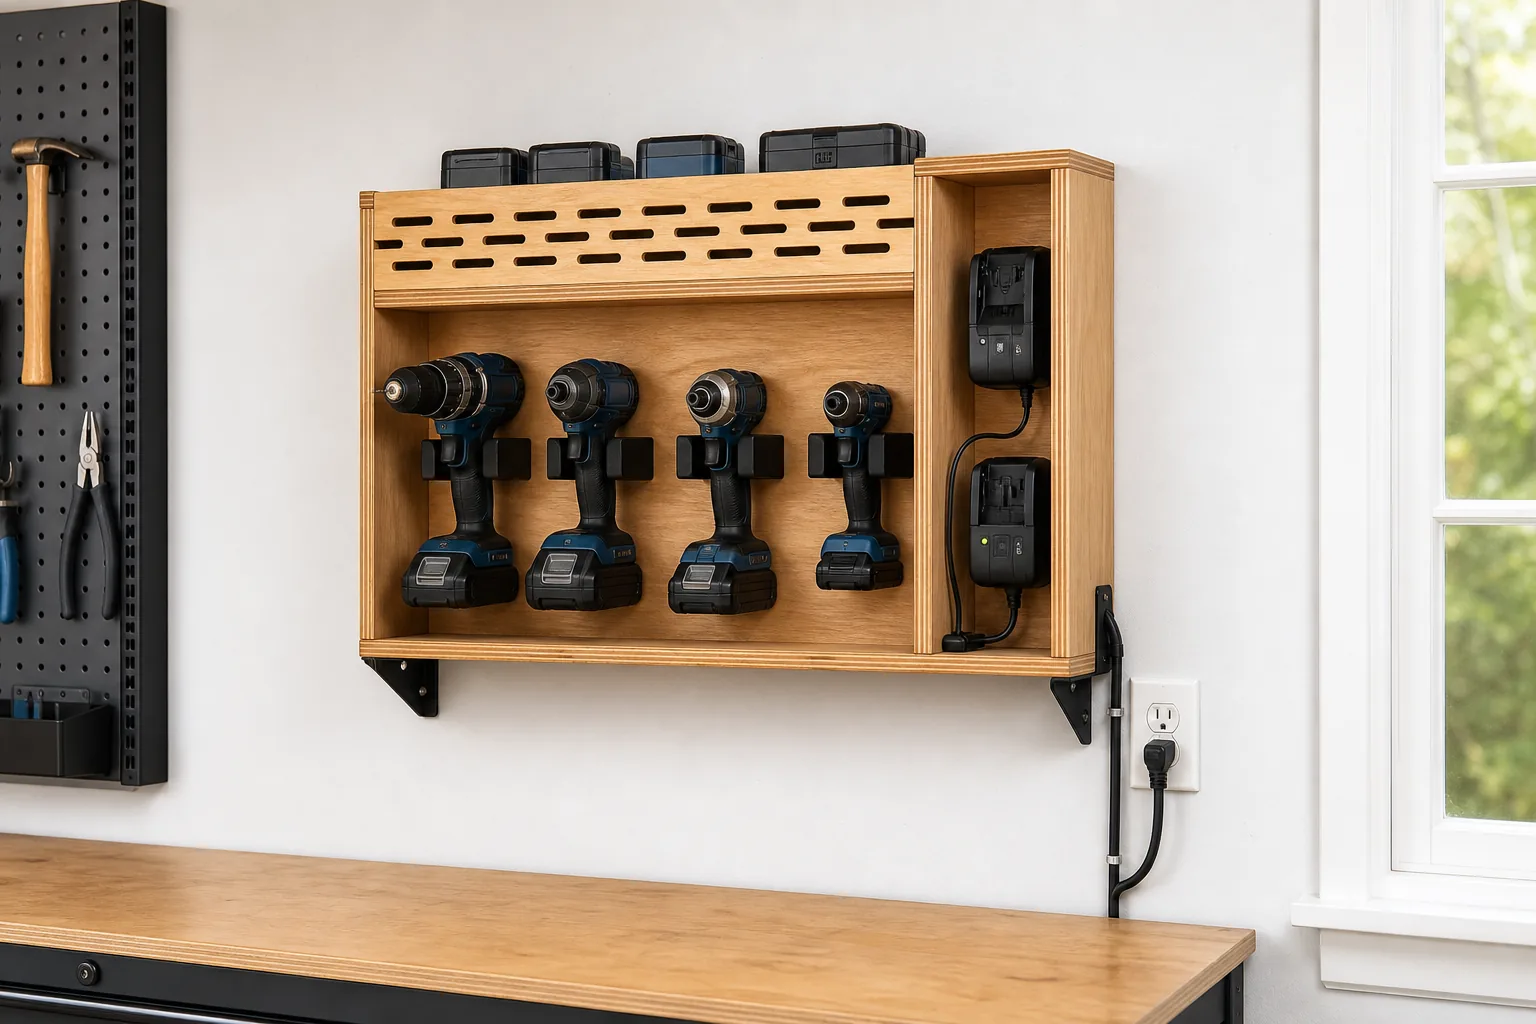
A dedicated station keeps drills, batteries, and chargers together instead of scattering them across the workbench. Use shallow shelves or suitable holders for the tools and leave ventilation around chargers and battery packs.
Follow every battery and charger instruction, use approved electrical connections, and avoid overloaded outlets or improvised wiring. Keep the station dry, away from flammable materials, and within the temperature range specified by the manufacturer. Damaged or swollen batteries require appropriate handling and disposal.
Best for: DIY tool collections Budget: Moderate Difficulty: Intermediate
15. Sort Small Hardware Into Visible Drawers
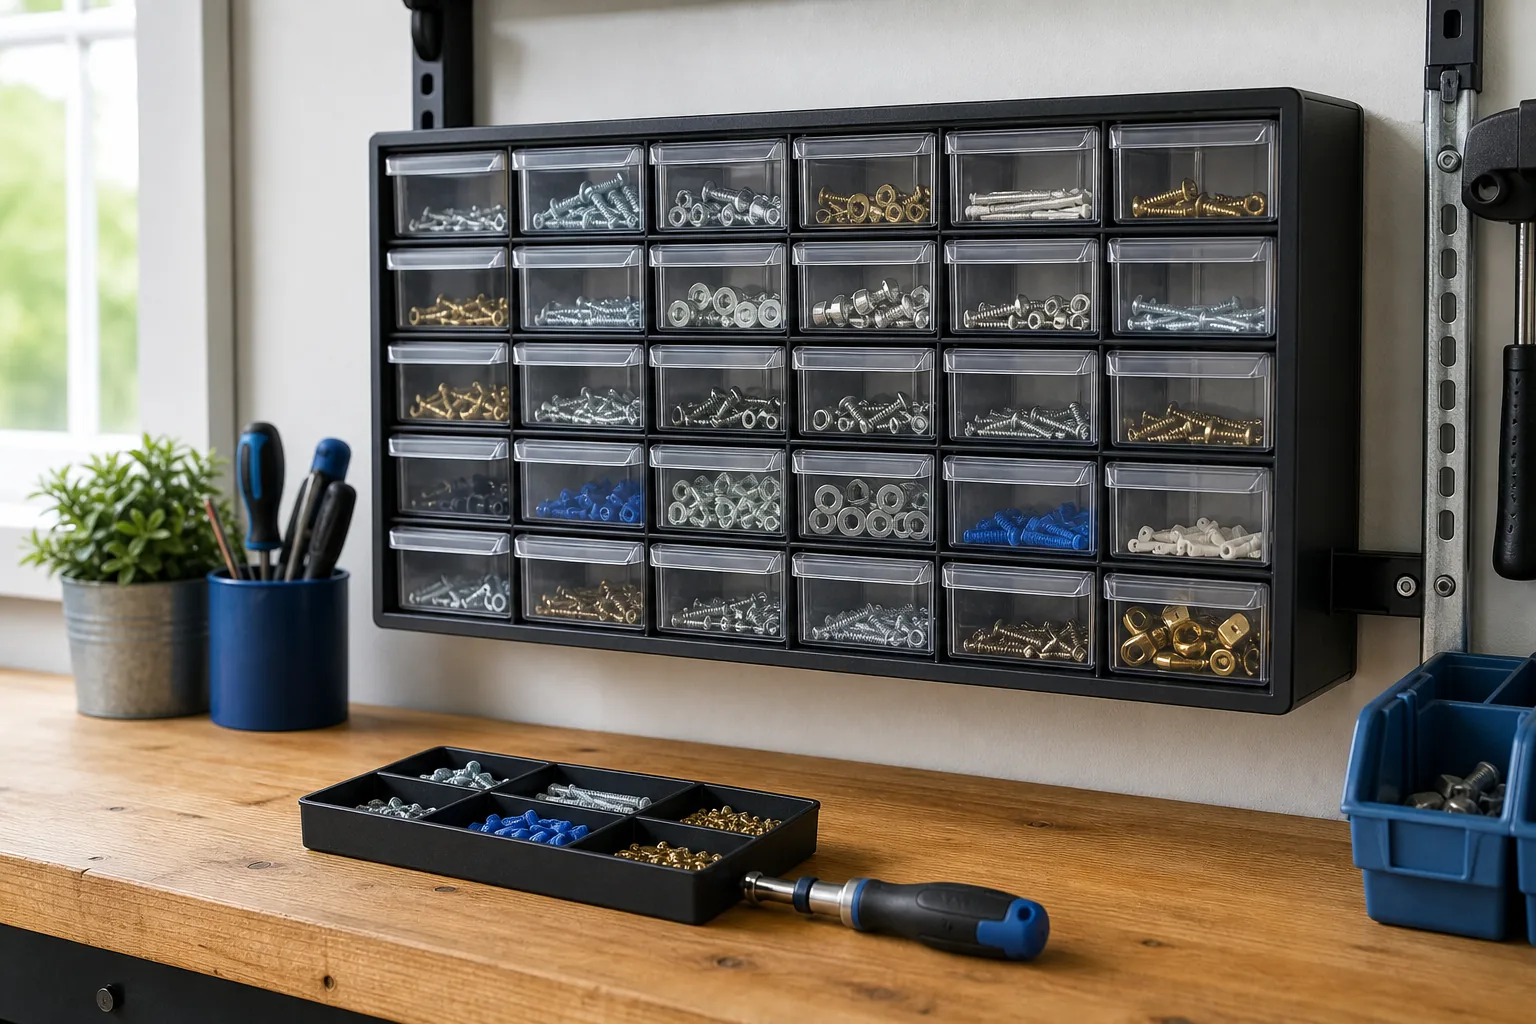
Screws, washers, anchors, and fittings are only useful when you can find the right size. Transparent drawer units or divided cases keep small parts separated while using very little wall or bench space. Label drawers with both the item and size.
Keep the most-used hardware close to the workbench and project-specific leftovers in a separate container. Mount tall drawer units or cabinets according to their instructions so pulling out a loaded drawer cannot tip the system forward.
Best for: Small parts Budget: Low–moderate Difficulty: Easy
16. Store Ladders on Proper Wall Hooks
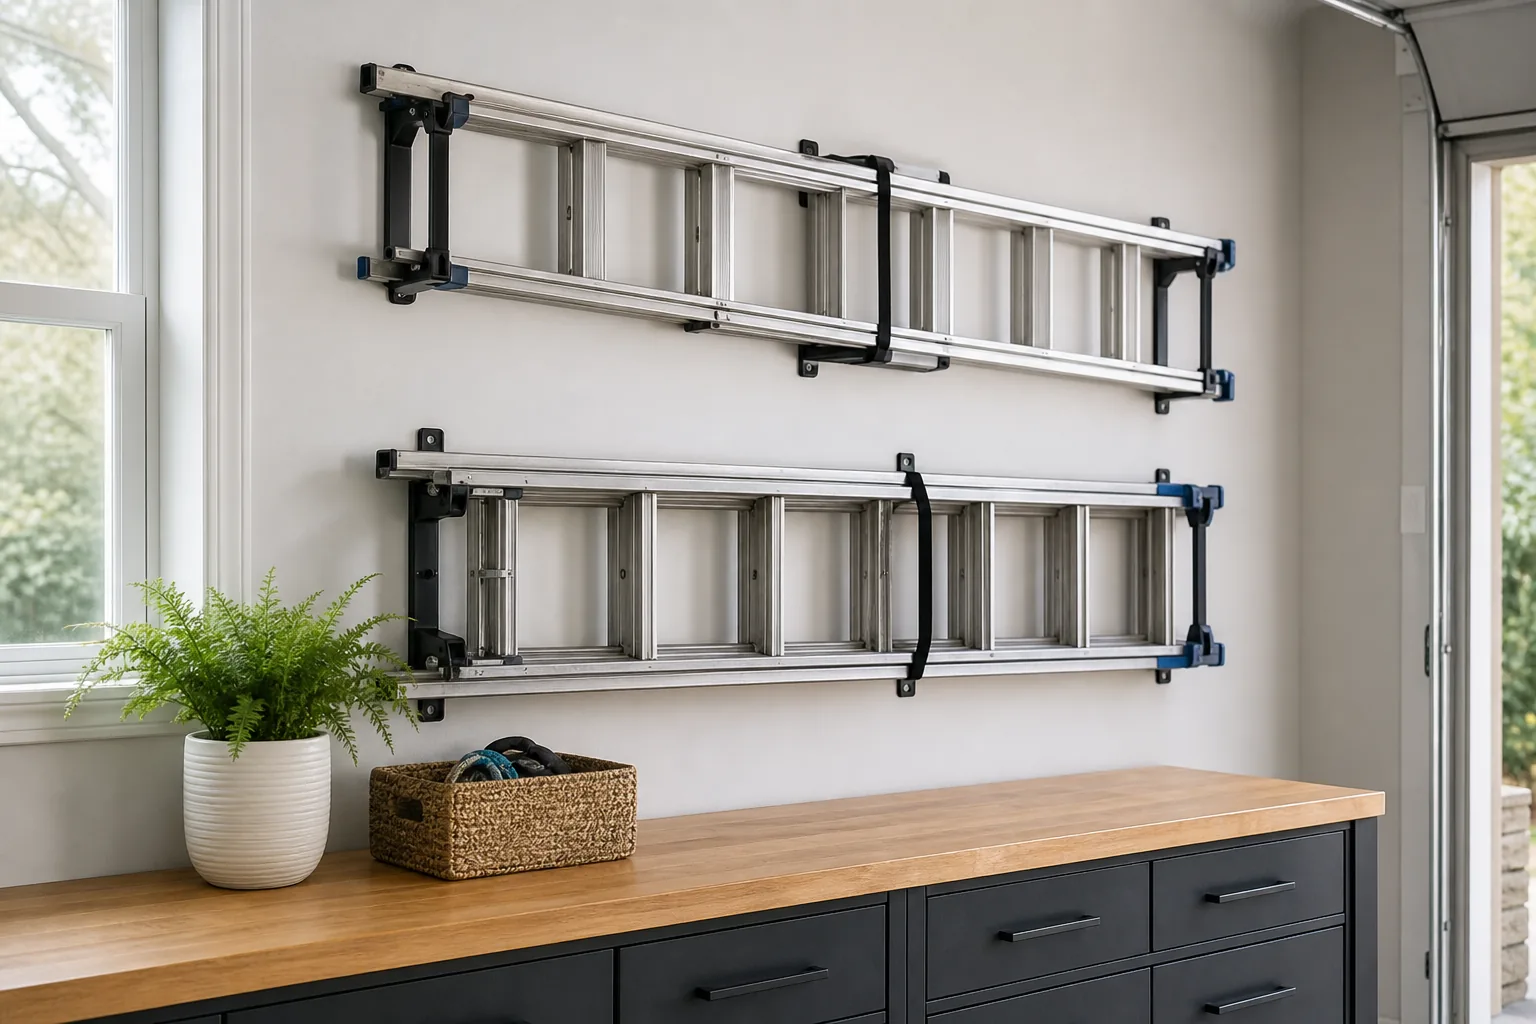
Ladders occupy valuable floor space and can slide when leaned casually against a wall. Rated wall hooks keep folding ladders horizontal and contained. Choose a height that clears normal activity but still allows safe two-handed lifting.
Support the ladder at appropriate points, secure it against accidental movement, and avoid locations above vehicles, doors, electrical equipment, or places where someone must climb on furniture to reach it. Large or heavy ladders may be safer at a lower height.
Best for: Step and extension ladders Budget: Low Difficulty: Beginner
17. Use Overhead Storage for Lightweight Seasonal Items
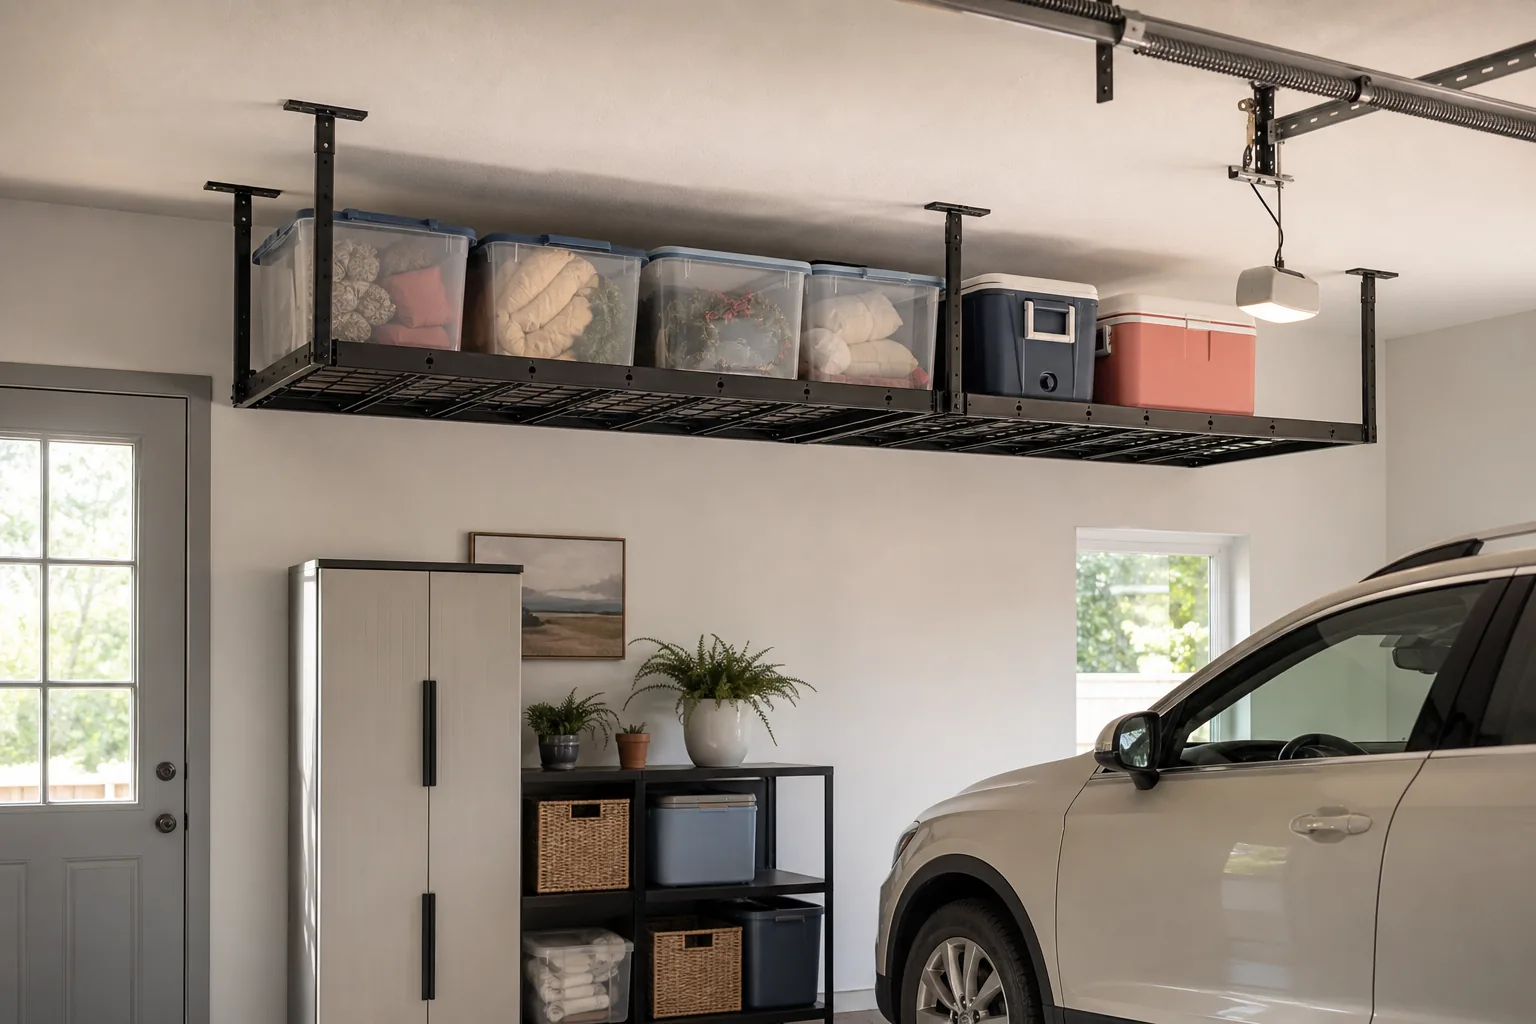
Ceiling space can hold lightweight seasonal items that would otherwise consume an entire shelving unit. Holiday decorations, empty coolers, and lightweight camping supplies are better candidates than dense tools or containers that must be accessed frequently.
Overhead systems require especially careful planning. Check the structure, door tracks, opener, utilities, vehicle height, product rating, and local requirements. Use a qualified installer when uncertain, never exceed the stated load, and do not store liquids, hazardous materials, or uncontrolled heavy objects above people or vehicles.
Best for: Rarely used lightweight items Budget: Moderate–high Difficulty: Professional help may be appropriate
18. Build a Renter-Friendly No-Drill Storage Zone
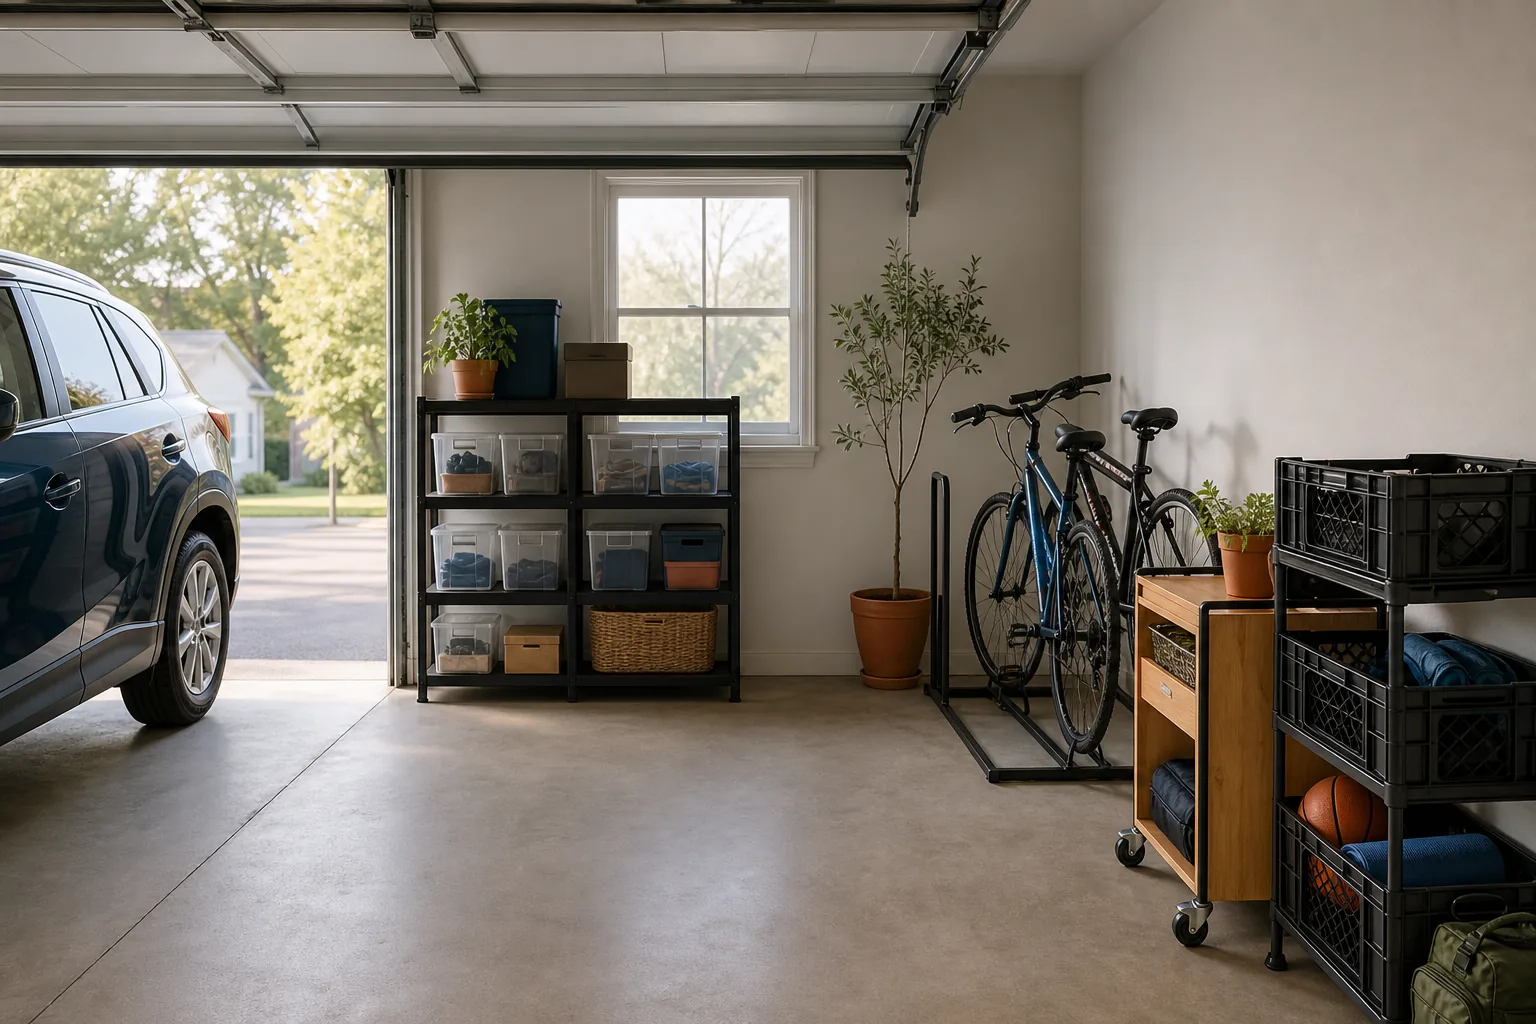
You can organize a rental garage without permanent wall systems. Combine stable freestanding shelves, a rolling cart, stackable containers, a freestanding bike rack, and an open bin for long tools. The system can move with you and adapt to a different floor plan.
Prevent tall furniture from tipping according to the manufacturer’s instructions and your lease permissions. Keep stacks conservative and create a clear route from the house door to the garage door. For more compact-space thinking, borrow layout principles from our small-space decor ideas.
Best for: Renters Budget: Moderate Difficulty: Easy
19. Turn One Corner Into a Lawn-and-Cleaning Station
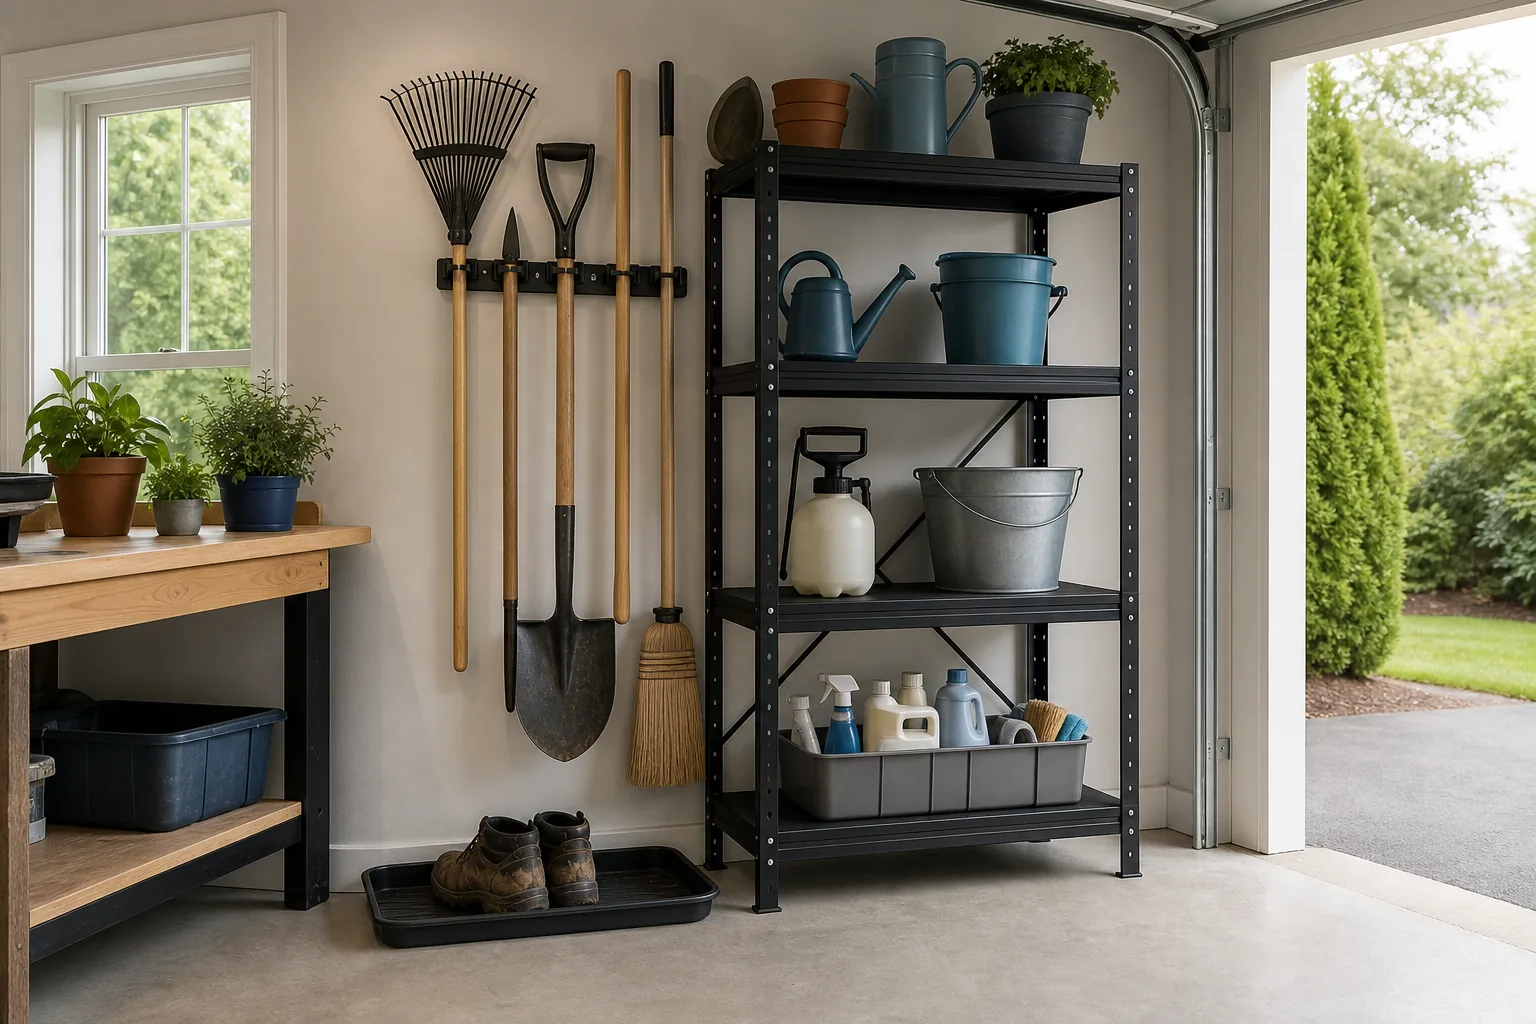
A corner station can hold garden hand tools, watering equipment, buckets, brooms, and household cleaning supplies without spreading them across the garage. Use vertical racks for long tools, a washable tray for boots, and separate baskets for small outdoor supplies.
Keep household cleaners, garden chemicals, and automotive products in their original containers and store them according to label directions. Do not combine incompatible materials, and keep hazardous items secured away from children, pets, drains, ignition sources, and temperature extremes.
Best for: Outdoor maintenance Budget: Low–moderate Difficulty: Easy
20. Design a Family Drop Zone Near the House Door
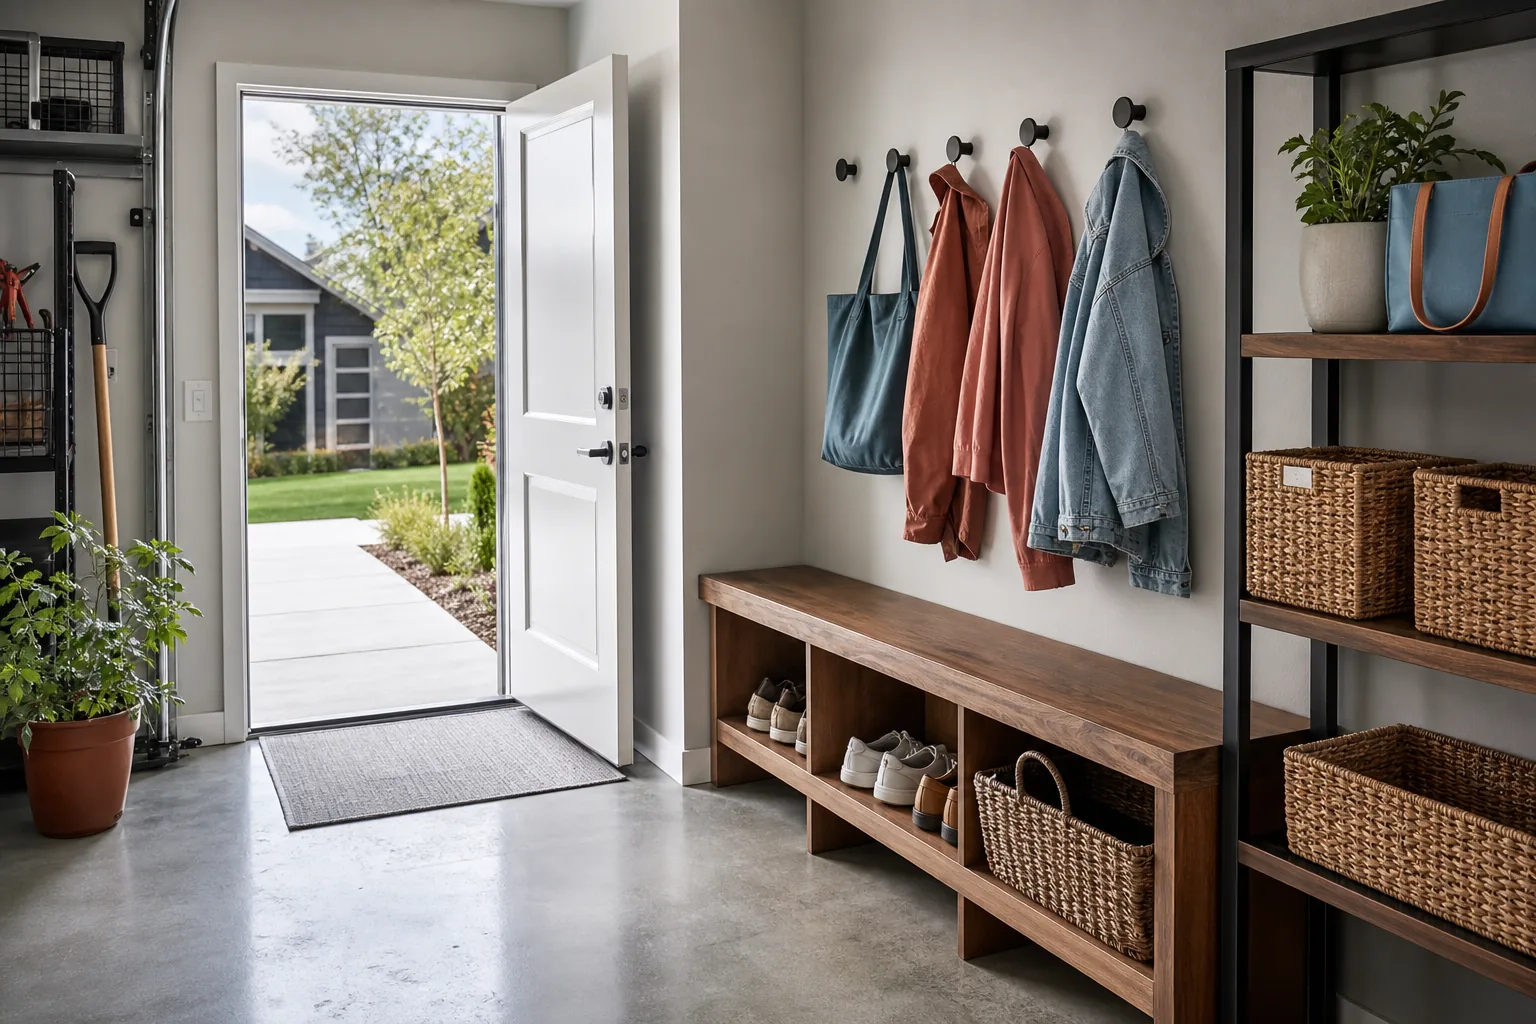
A small drop zone catches backpacks, reusable shopping bags, dog leads, shoes, and sports bags before they enter the house. Place sturdy hooks at useful heights, add a low bench or shelf, and give each family member one basket or cubby.
Keep the door, steps, handrail, and required egress path completely clear. The station should simplify movement rather than create another obstacle. Use washable materials and limit each person’s space so the area does not become overflow storage.
Best for: Busy households Budget: Low–moderate Difficulty: Easy
21. Finish With a Five-Minute Reset System
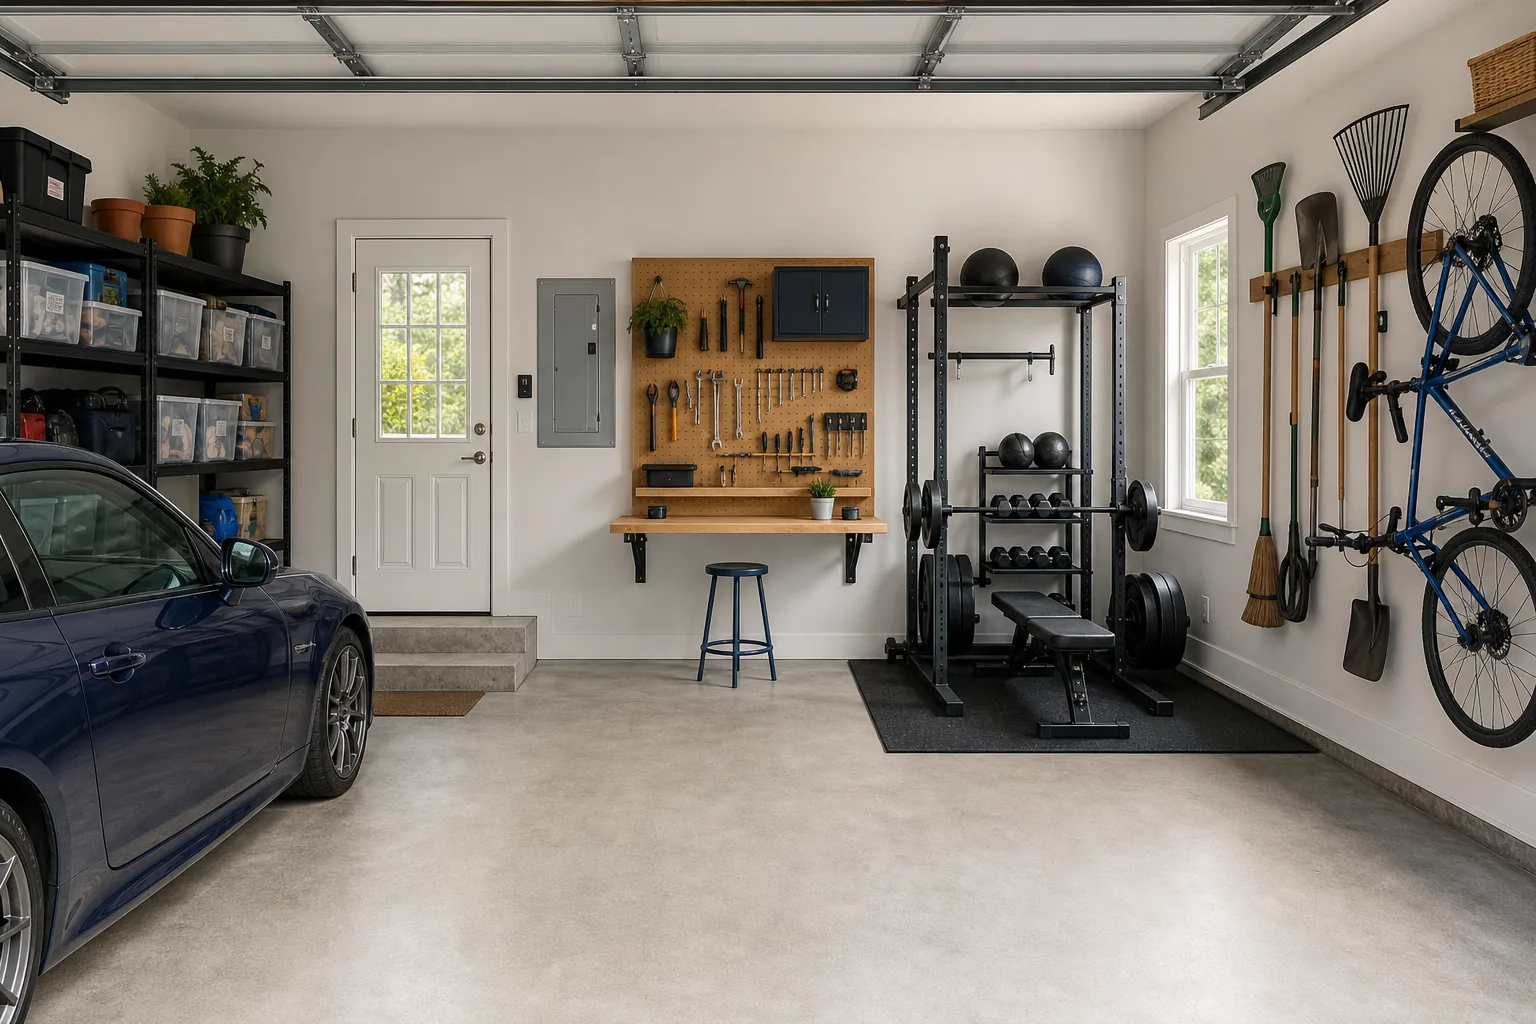
The best storage system is the one that can be reset quickly. Leave a little empty capacity in every zone, place a donation box near the exit, and schedule a short monthly check for items that have migrated to the floor or workbench.
Photograph the finished zones and place the images inside cabinet doors as a visual guide. A five-minute reset after a project prevents the garage from returning to its original state and reveals when a category genuinely needs more space.
Best for: Long-term maintenance Budget: Free Difficulty: Easy
DIY Garage Organization Planning Checklist
- Sort and declutter before buying containers.
- Measure walls, doors, vehicles, utilities, and safe walkways.
- Create zones based on activity and frequency of use.
- Use walls before filling more floor space.
- Place heavy objects low and lightweight seasonal items higher.
- Verify fasteners, structure, load ratings, and installation guidance.
- Protect electrical panels, garage-door equipment, exits, and vehicle clearance.
- Store chemicals, fuels, batteries, and sharp tools safely.
- Leave approximately one container or shelf of growth space.
- Schedule a short monthly reset.
Common Garage Organization Mistakes
- Buying bins first: Containers cannot solve clutter that has not been sorted.
- Ignoring the car: Test doors, mirrors, the trunk, and walking space before installing storage.
- Storing heavy items overhead: Dense objects are safer and easier to manage on lower shelves.
- Using vague labels: Specific categories make returning items faster.
- Covering every wall: Leave access to utilities and space for the system to change.
- Mixing chemicals: Attractive organization never replaces storage and safety instructions.
- Creating difficult storage: If an item requires a ladder every week, it is in the wrong zone.
- Filling every inch: Empty capacity is essential for maintaining order.
DIY Garage Organization FAQs
How can I organize my garage cheaply?
Begin by removing unused items, then reuse suitable shelves, bins, hooks, and furniture you already own. Spend first on the problem that returns the most floor space, such as wall hooks for long tools, a pegboard for hand tools, or correctly sized shelving for existing containers.
What is the best way to organize a garage full of stuff?
Work one section at a time and sort by category before deciding where anything belongs. Create keep, donate, sell, relocate, and dispose groups. After reducing the volume, assign the remaining items to zones based on how often they are used.
How do I organize a small garage?
Protect the parking and walking area first. Use shallow wall storage, vertical bike mounts, a fold-down bench, a slim rolling cart, and shelving sized precisely for your bins. Avoid deep cabinets that reduce vehicle or door clearance.
Should garage storage be open or closed?
Open storage works well for frequently used tools and sports gear, while closed containers protect seasonal items from dust and pests. A practical garage usually combines both: visible everyday storage and labeled containers for less-used categories.
What should not be stored in overhead garage racks?
Avoid uncontrolled heavy objects, frequently used items, liquids that can leak, hazardous materials, fragile valuables, and anything outside the rack manufacturer’s guidance. Structural suitability, installation, load rating, and safe access must be confirmed before using ceiling storage.
How do I keep my garage organized after the makeover?
Make every category easy to return, keep some empty capacity, label containers clearly, and perform a five-minute reset after projects. Review the garage monthly and remove donations before the box becomes another permanent storage pile.
Final Thoughts
Successful DIY garage organization is less about filling the room with products and more about protecting the floor, using vertical space wisely, and making everyday items simple to return. Start with one problem zone, measure carefully, and choose the safest system that fits your skills, structure, and budget.
Once the first zone works, repeat the same logic across the garage: frequently used items within reach, dense objects low, lightweight seasonal items higher, and dangerous materials stored according to their instructions. The result will feel more spacious because every square foot has a clear purpose.